You need three things: a finished URL, a generator, and a test print. The whole process takes about ten minutes, and the only part people get wrong is the last one.
Here's the full walkthrough, including the file format and size specs your printer will ask for.
Step 1: Lock your destination URL first
Generate the code after your link is final, not before. A QR code is a picture of a specific address — change the address and the picture is worthless.
Keep the URL short. QR codes encode data as a grid, so a longer address produces a denser grid with smaller individual squares, and small squares scan worse at print size. emmaandjoe.com produces a clean, sparse code. A 70-character URL with a query string produces a dense one that needs to be printed larger to work.
If your wedding website provider gave you something long, check whether they offer a custom domain. It's usually $15–20 a year and it improves both your code and your card.
Step 2: Choose static (recommended)
Use a static code. The URL lives inside the pattern, nothing sits in the middle, and it works for as long as your page exists.
Dynamic codes — the kind that let you change the destination later — route through a third party's short link. That's genuinely useful if you might move your site, but it means your invitation depends on a company staying in business and on you not missing a renewal email. Several popular free generators produce dynamic codes by default and switch them off after a trial period, which is how couples end up with dead codes on already-mailed invitations.
If a generator asks you to create an account before it gives you the code, it's almost certainly dynamic. Read what happens after the trial.
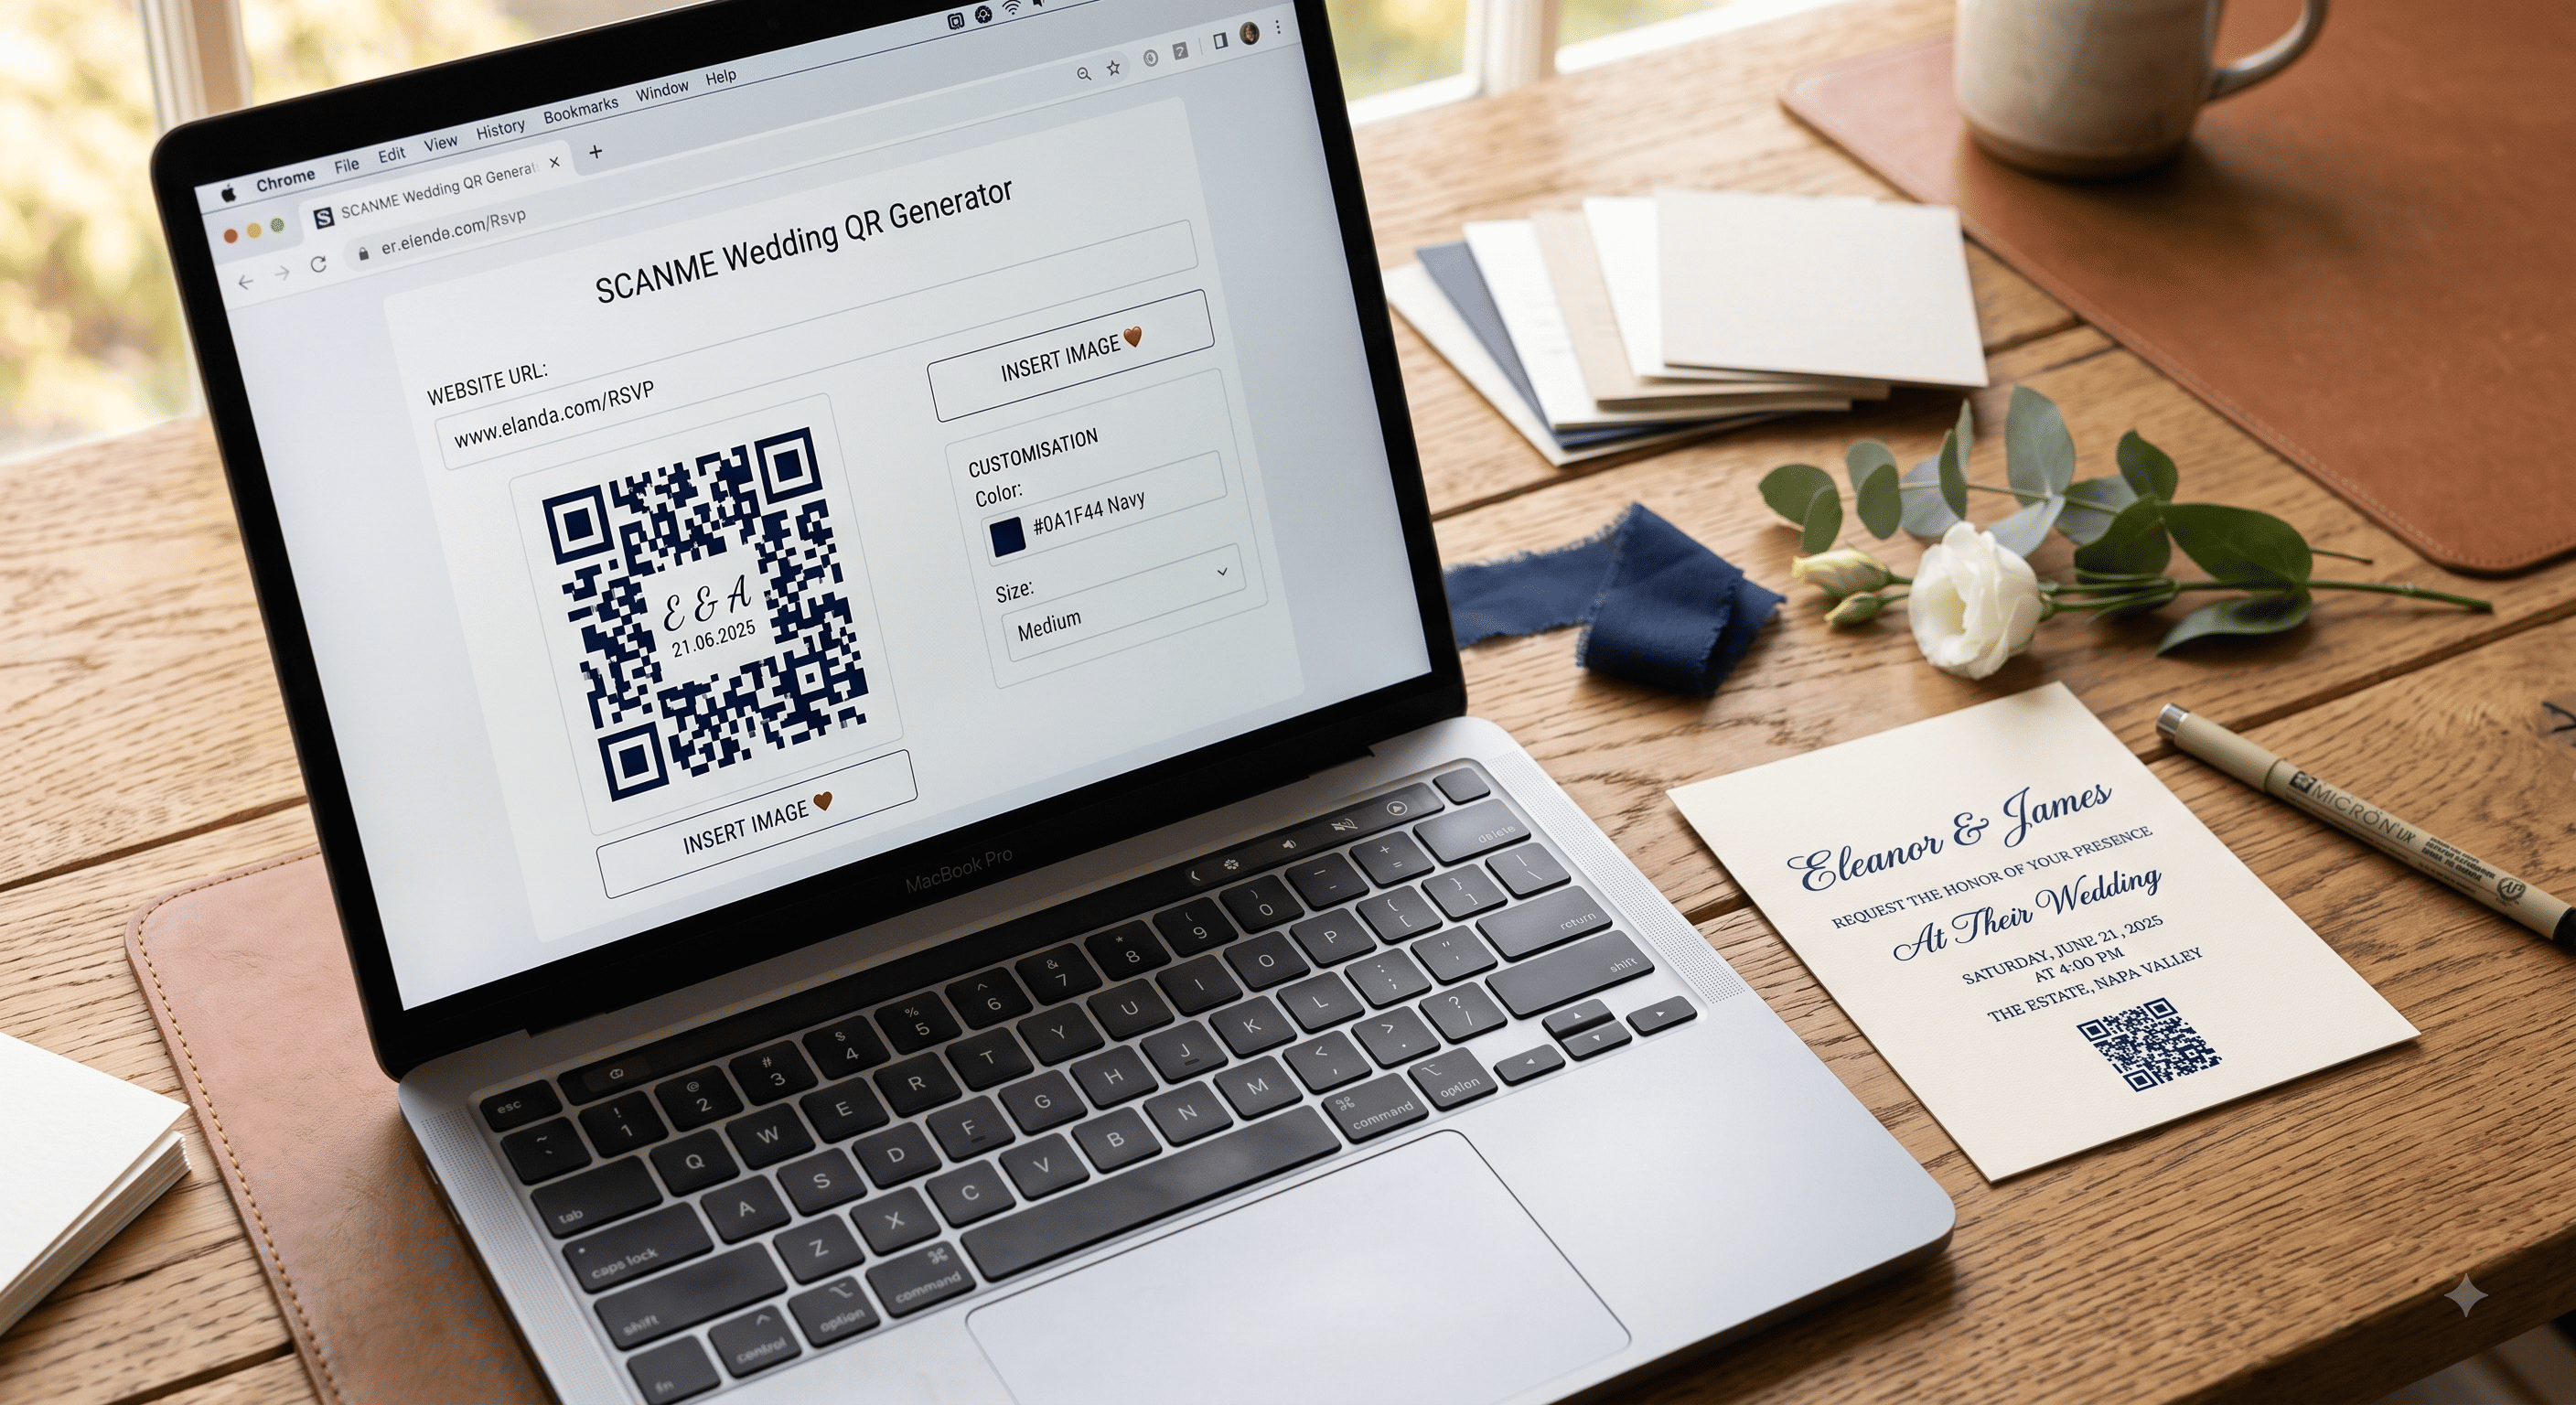
Step 3: Generate it
Free options that produce static codes with no account:
- Your browser: Chrome and Edge can generate a QR code for any page you're on, from the address bar or the right-click menu. Fastest route for a plain link.
- A generator site that explicitly offers a "static" or "no-expiry" option.
- Your invitation or wedding website platform, if it has one built in — Eventic and most digital invitation tools generate the code automatically when you publish, which skips this step entirely.
Whatever you use, change the default colors before downloading, not afterwards in Photoshop. Recoloring a rasterized code often blurs the edges.
Step 4: Download the right file type
| Format | Use it for | Notes |
|---|---|---|
| SVG | Anything going to a professional printer | Vector — scales to any size with zero quality loss. Ask for this first. |
| PNG at 1000px+ | DIY printing, Canva, home printers | Fine at small sizes. Never resize up. |
| JPG | Nothing | Compression artifacts soften the edges. Avoid. |
| Some print shops prefer it | Vector inside, same benefits as SVG |
If your stationer is designing the suite, send them the SVG and let them place it. If you're using Canva or a template, drop in the PNG and don't stretch it non-proportionally — a squashed code will not scan.
Step 5: Size, color, and spacing
These are the specs that decide whether it works:
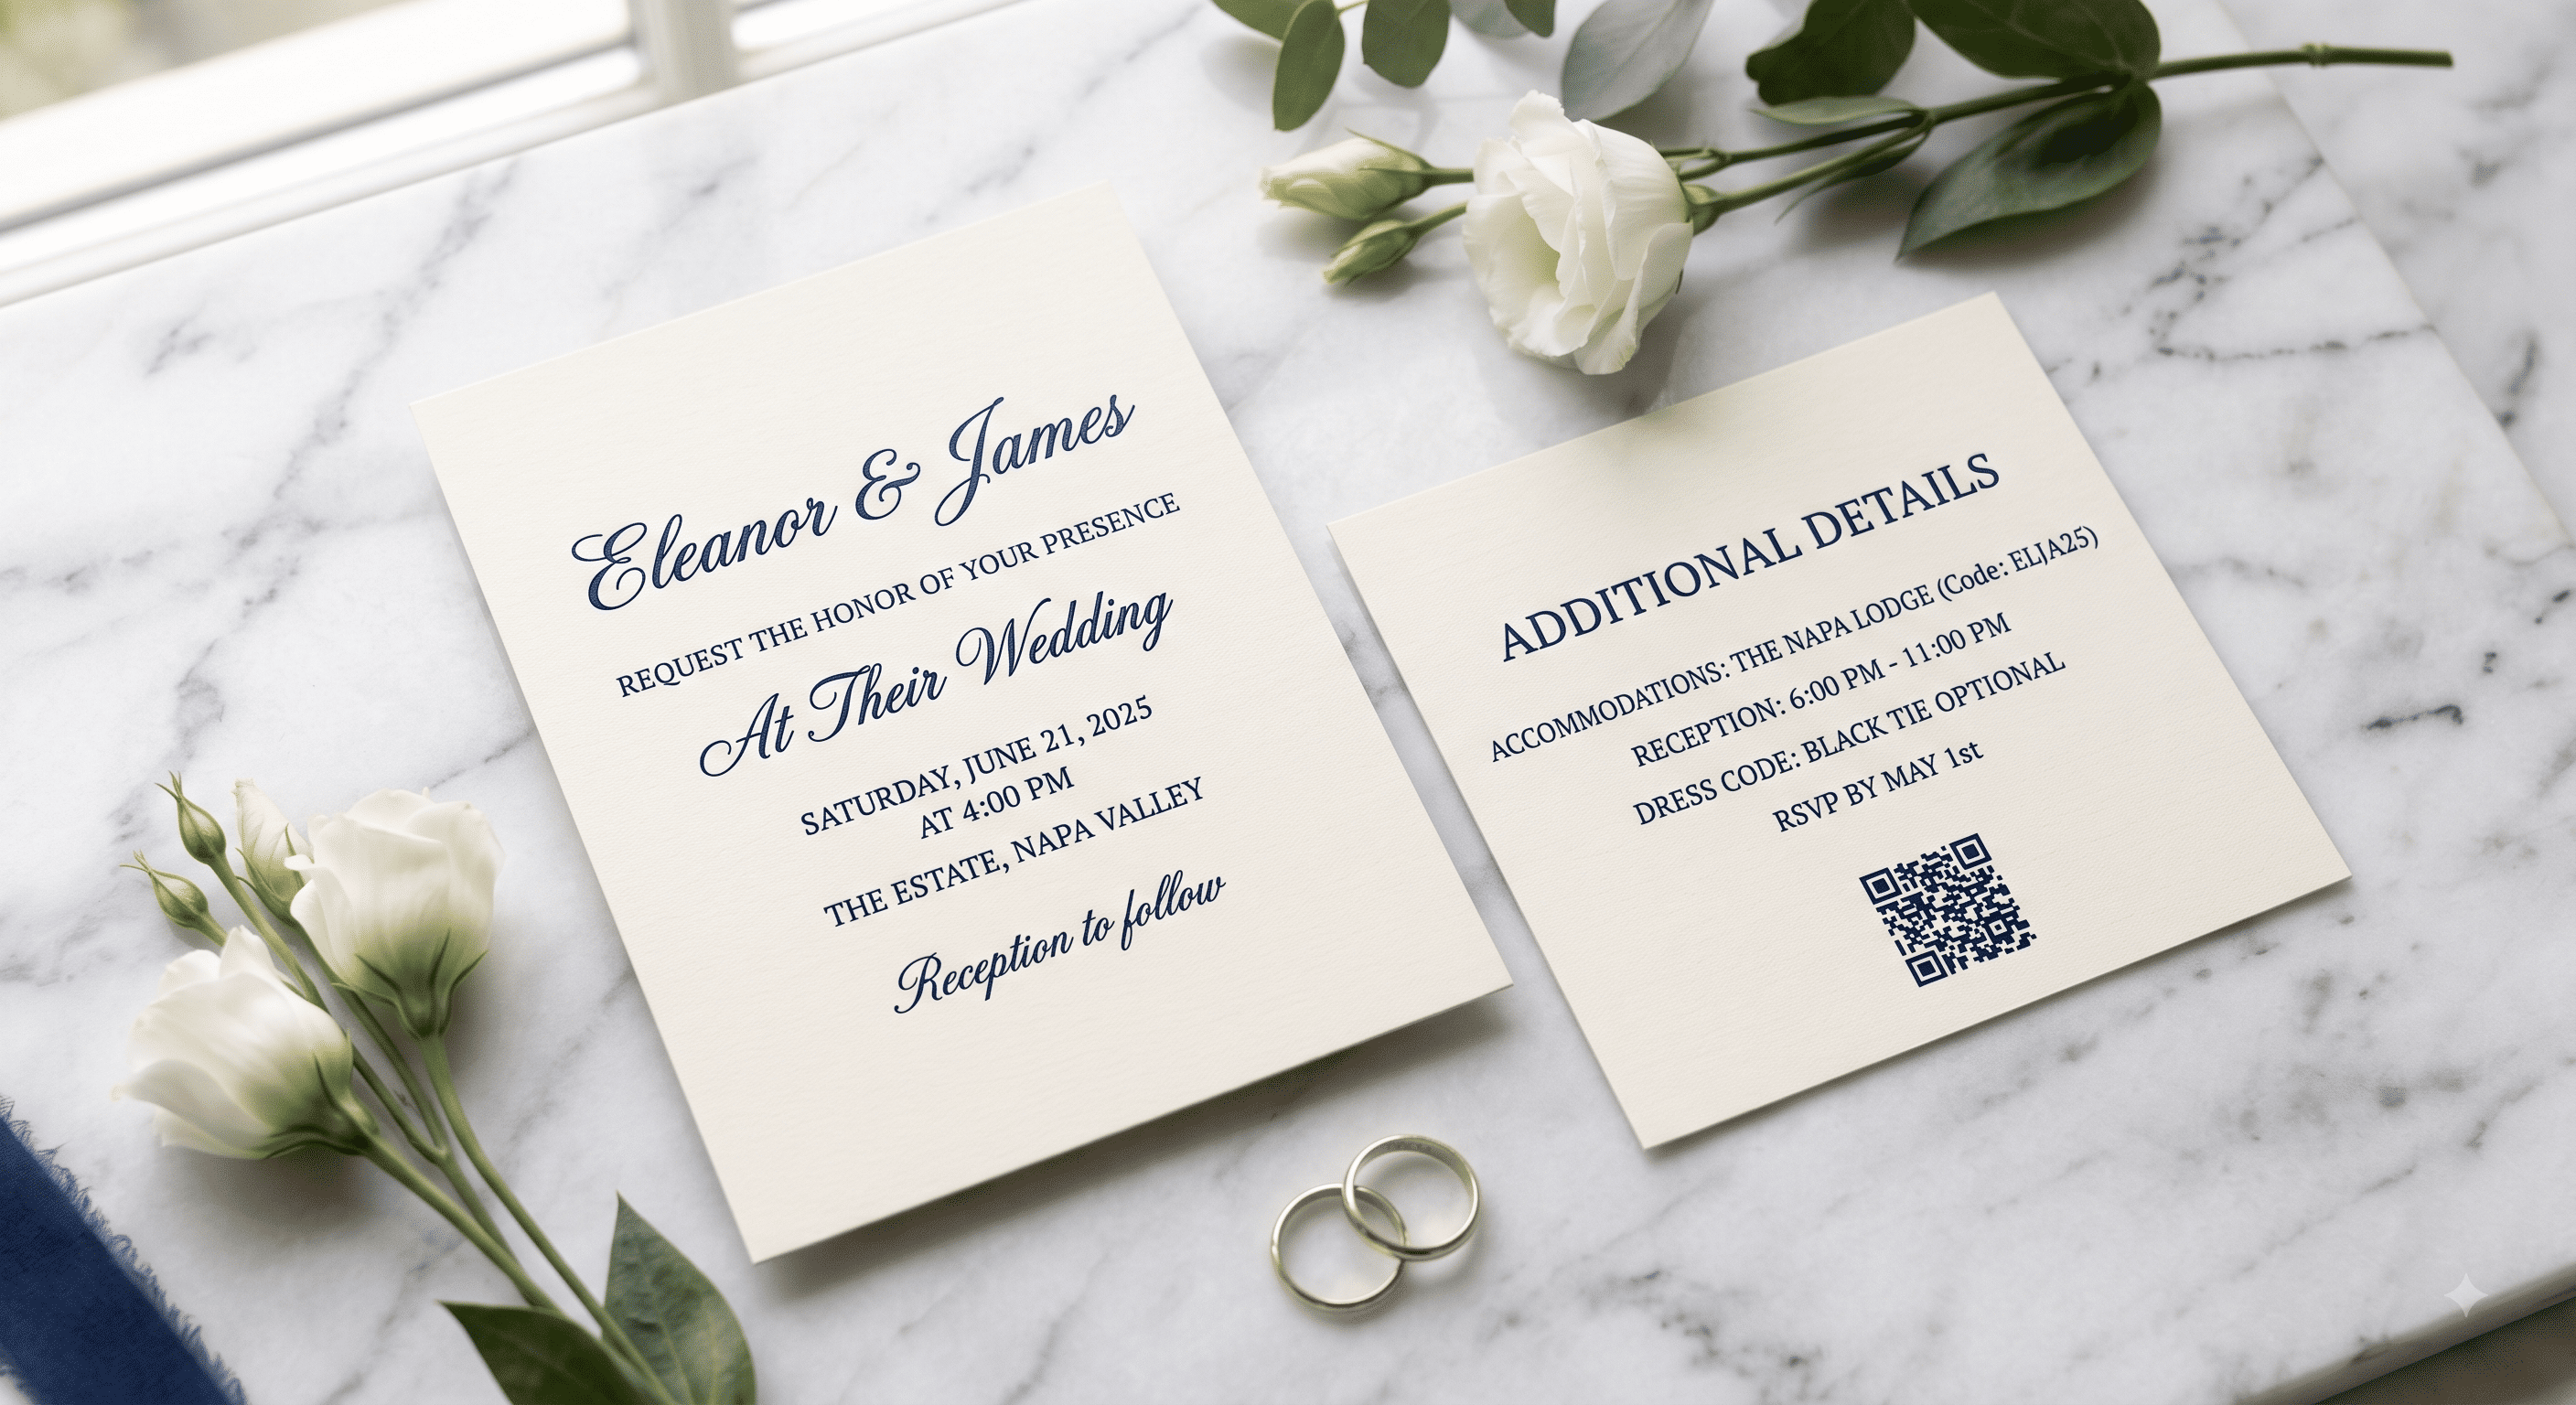
- Size: minimum 0.8 in / 2 cm square on printed stationery. 1 in / 2.5 cm is safer. On a details insert you have room, so use it.
- Quiet zone: leave clear space around all four sides equal to about four of the code's smallest squares. Designers crop this to tighten a layout and break the code doing it. If your card looks like the code is snug against a border, it's too snug.
- Contrast: dark pattern, light background. Deep navy, charcoal, forest, burgundy all work on cream or white. Pale ink on pale stock does not.
- Don't invert: light code on a dark background fails on a noticeable share of older phones.
- No foil, no gloss: metallic and varnished finishes reflect light straight back into the camera. Matte only.
- Center logos: possible, because QR codes have built-in error correction, but keep any logo under about 15% of the code area and re-test after adding it.
Step 6: Add the words around it
A bare square tells a guest nothing. Add a short label directly beside or beneath it:
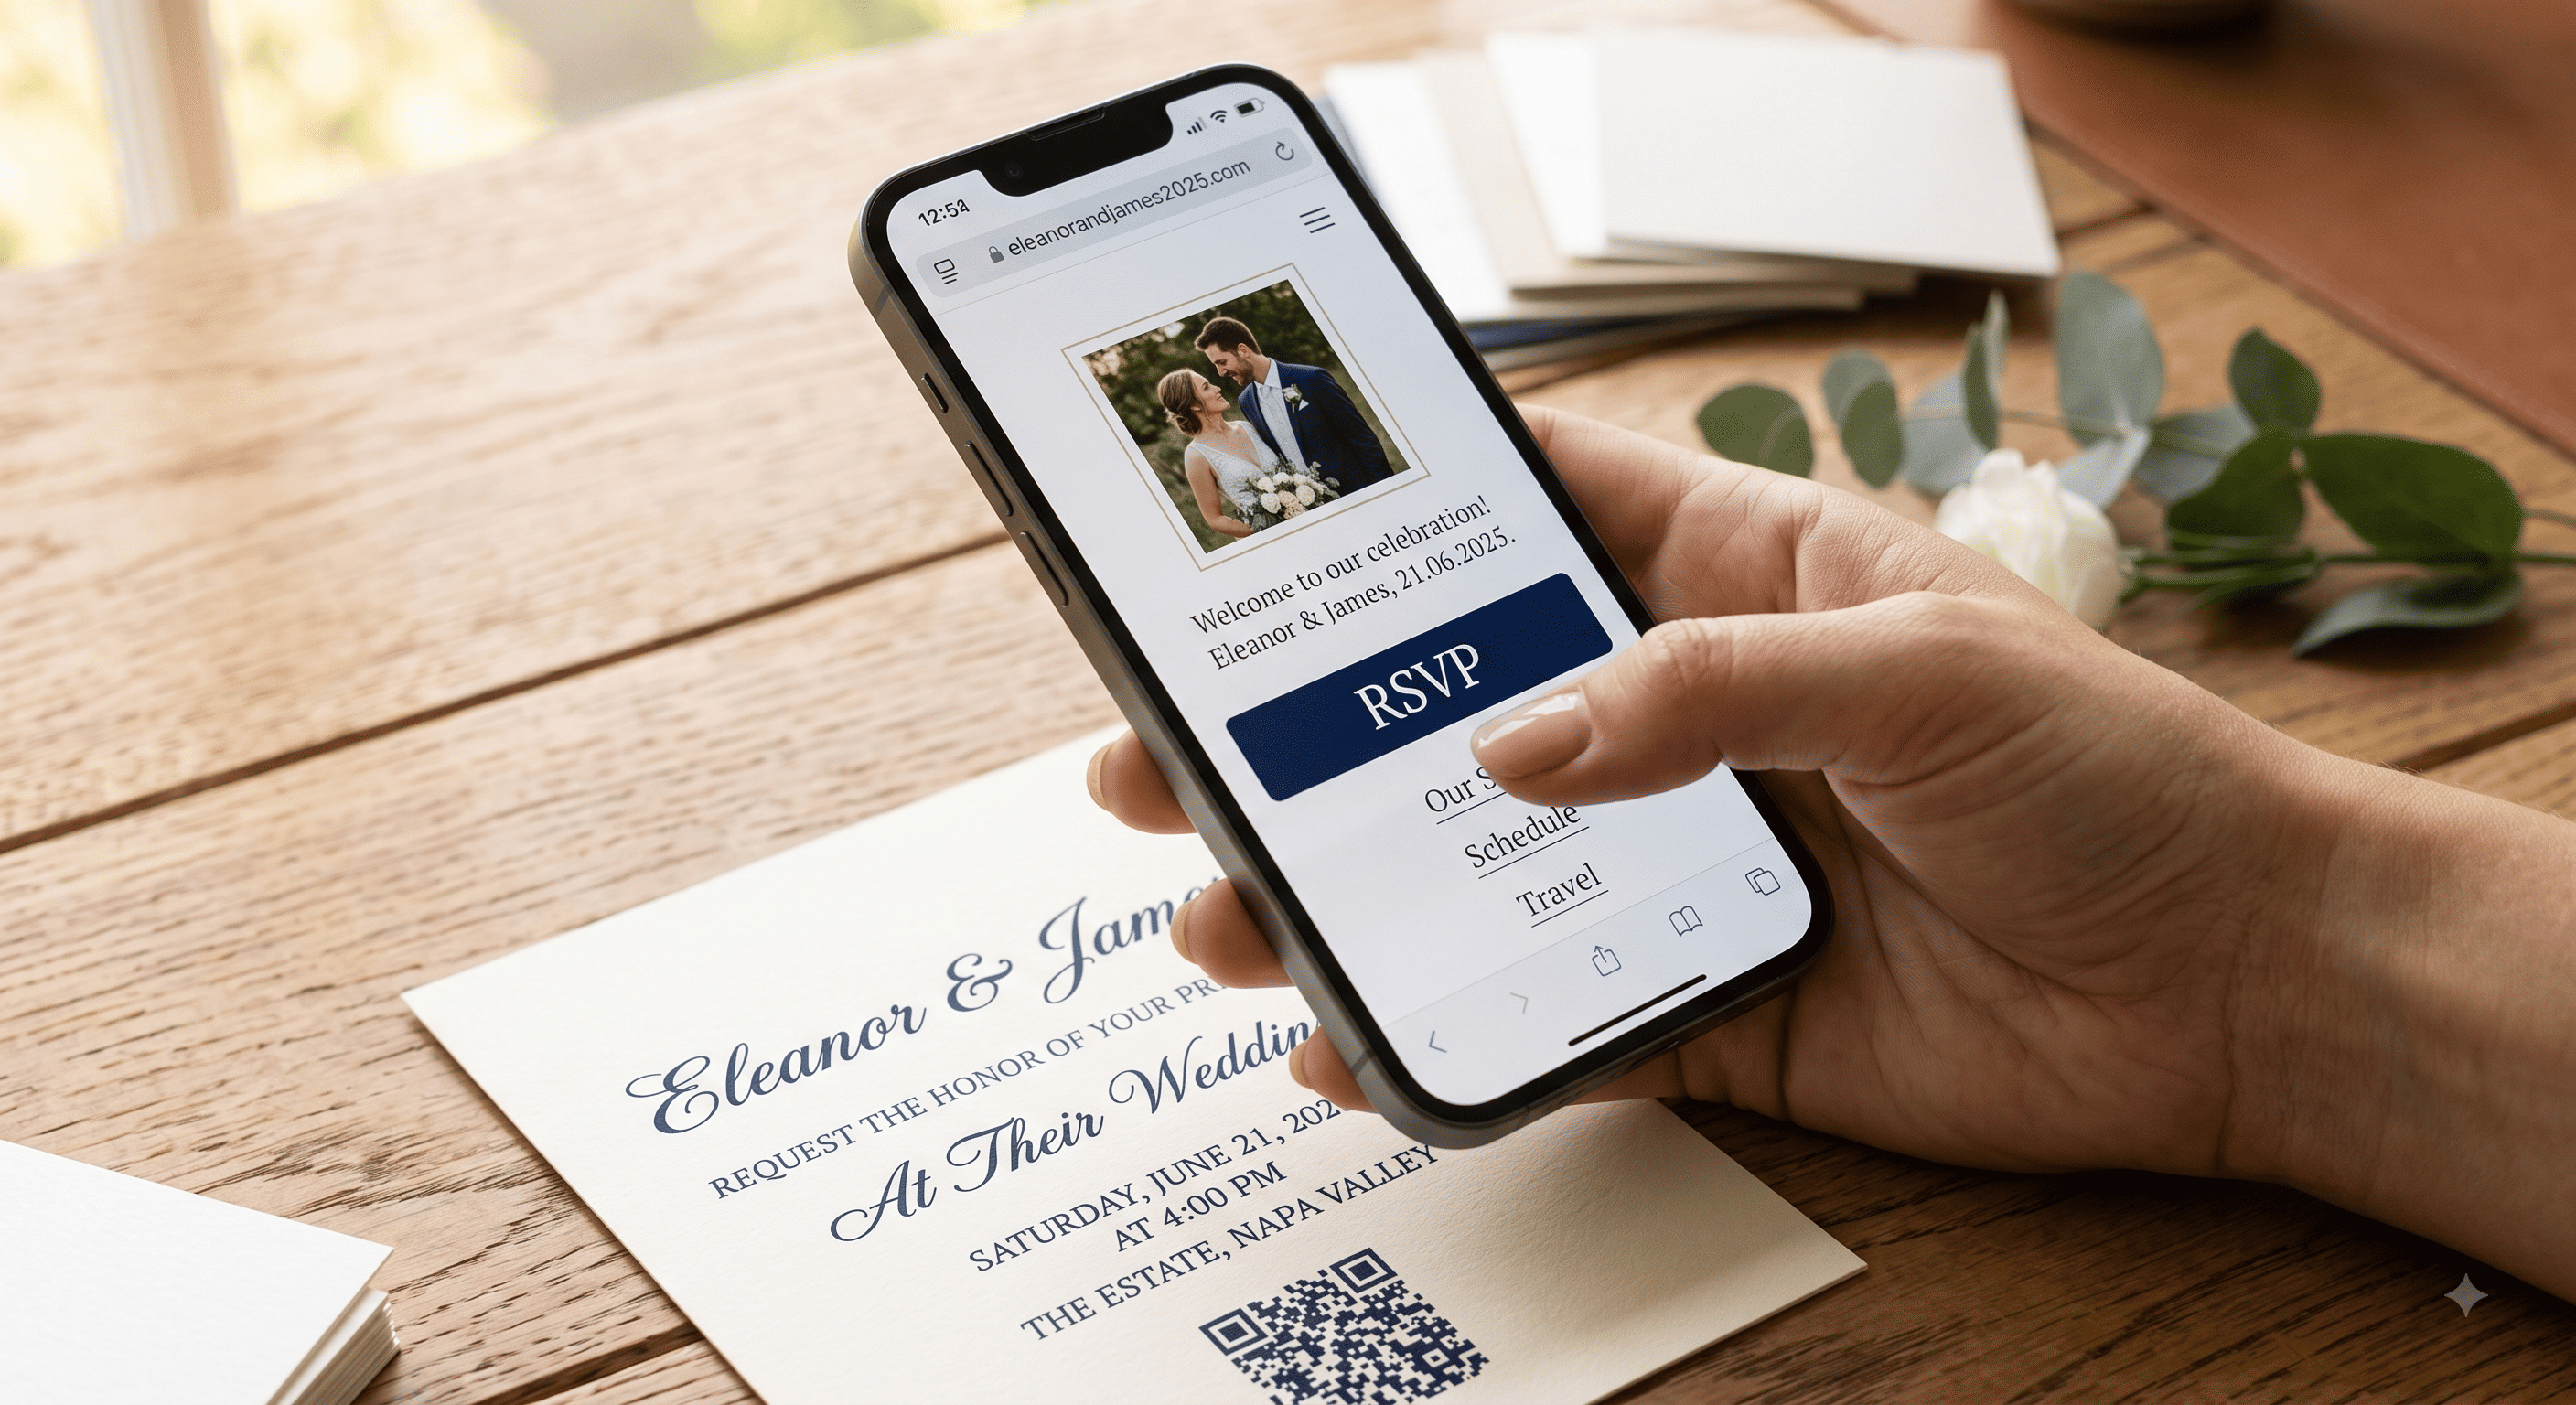
- "Scan for details and to RSVP"
- "Scan for our wedding website"
- "Scan me — travel info, hotel blocks, and RSVP"
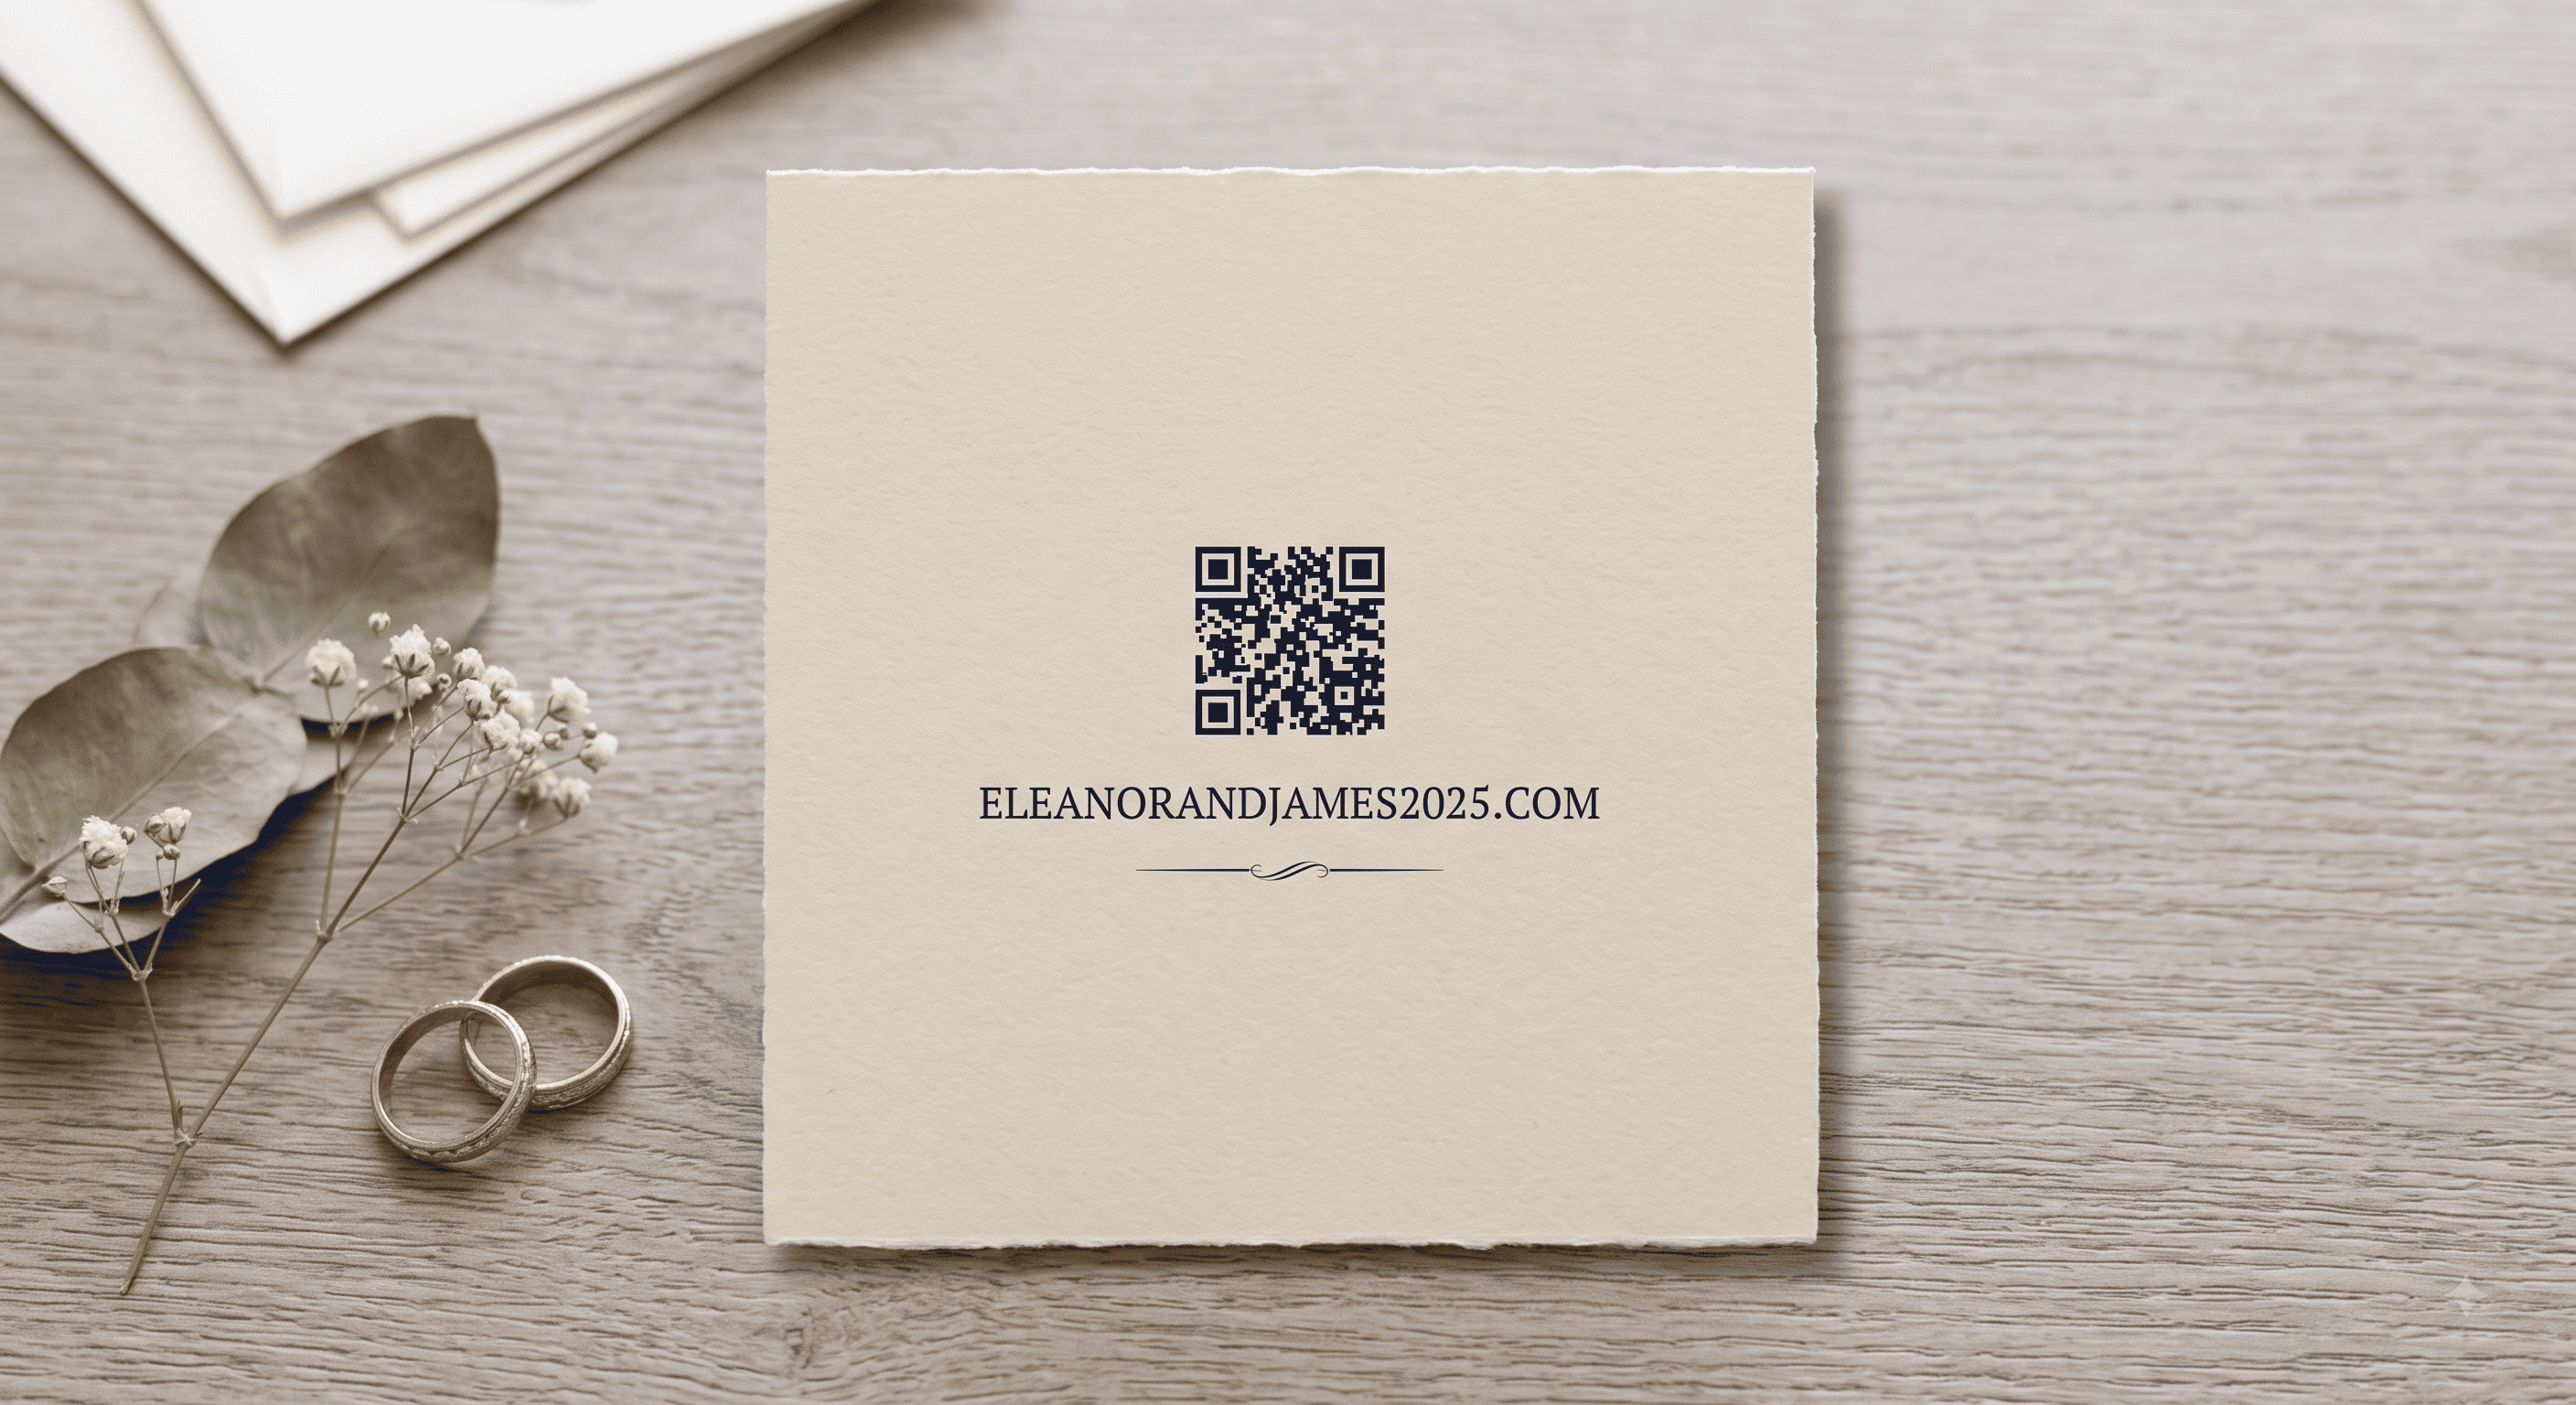
And print the plain URL underneath in small type. This is the single highest-value line on the card. It rescues every guest whose camera won't cooperate, and it costs you four points of type.
Step 7: Test it properly
Screen tests don't count. Backlit displays scan far more easily than ink on paper.
Do this instead:
- Print a proof at final size on the actual paper stock — ask your printer for one; most will do it.
- Scan it with an iPhone and an Android.
- Scan it with a phone that's at least four years old.
- Scan it in poor light and at an angle.
- Hand it to a relative in their seventies and watch without helping. Whatever confuses them is your real design brief.
If any of those fail, the fix is almost always: make it bigger, increase contrast, or restore the quiet zone.
A quick DIY version in Canva
- Generate and download your PNG or SVG.
- In Canva, open your invitation or insert template.
- Upload the code and place it — bottom-right of an insert works well.
- Set the frame to a square and drag from a corner handle so the proportions stay locked.
- Add your label text and the plain URL beneath.
- Export as PDF Print, CMYK if the option is offered.
Canva also has a built-in QR code app under Apps, which generates static codes directly onto your design. It's genuinely convenient — just download the finished design as PDF, not JPG.
One last thing
Generate the code once, save the SVG somewhere you'll find it again, and reuse the same file across your invitation, your details card, and your day-of signage. Regenerating it each time invites a version mismatch — and a code that points at last month's draft URL.
People Also Asked
Explore common questions related to this blog.