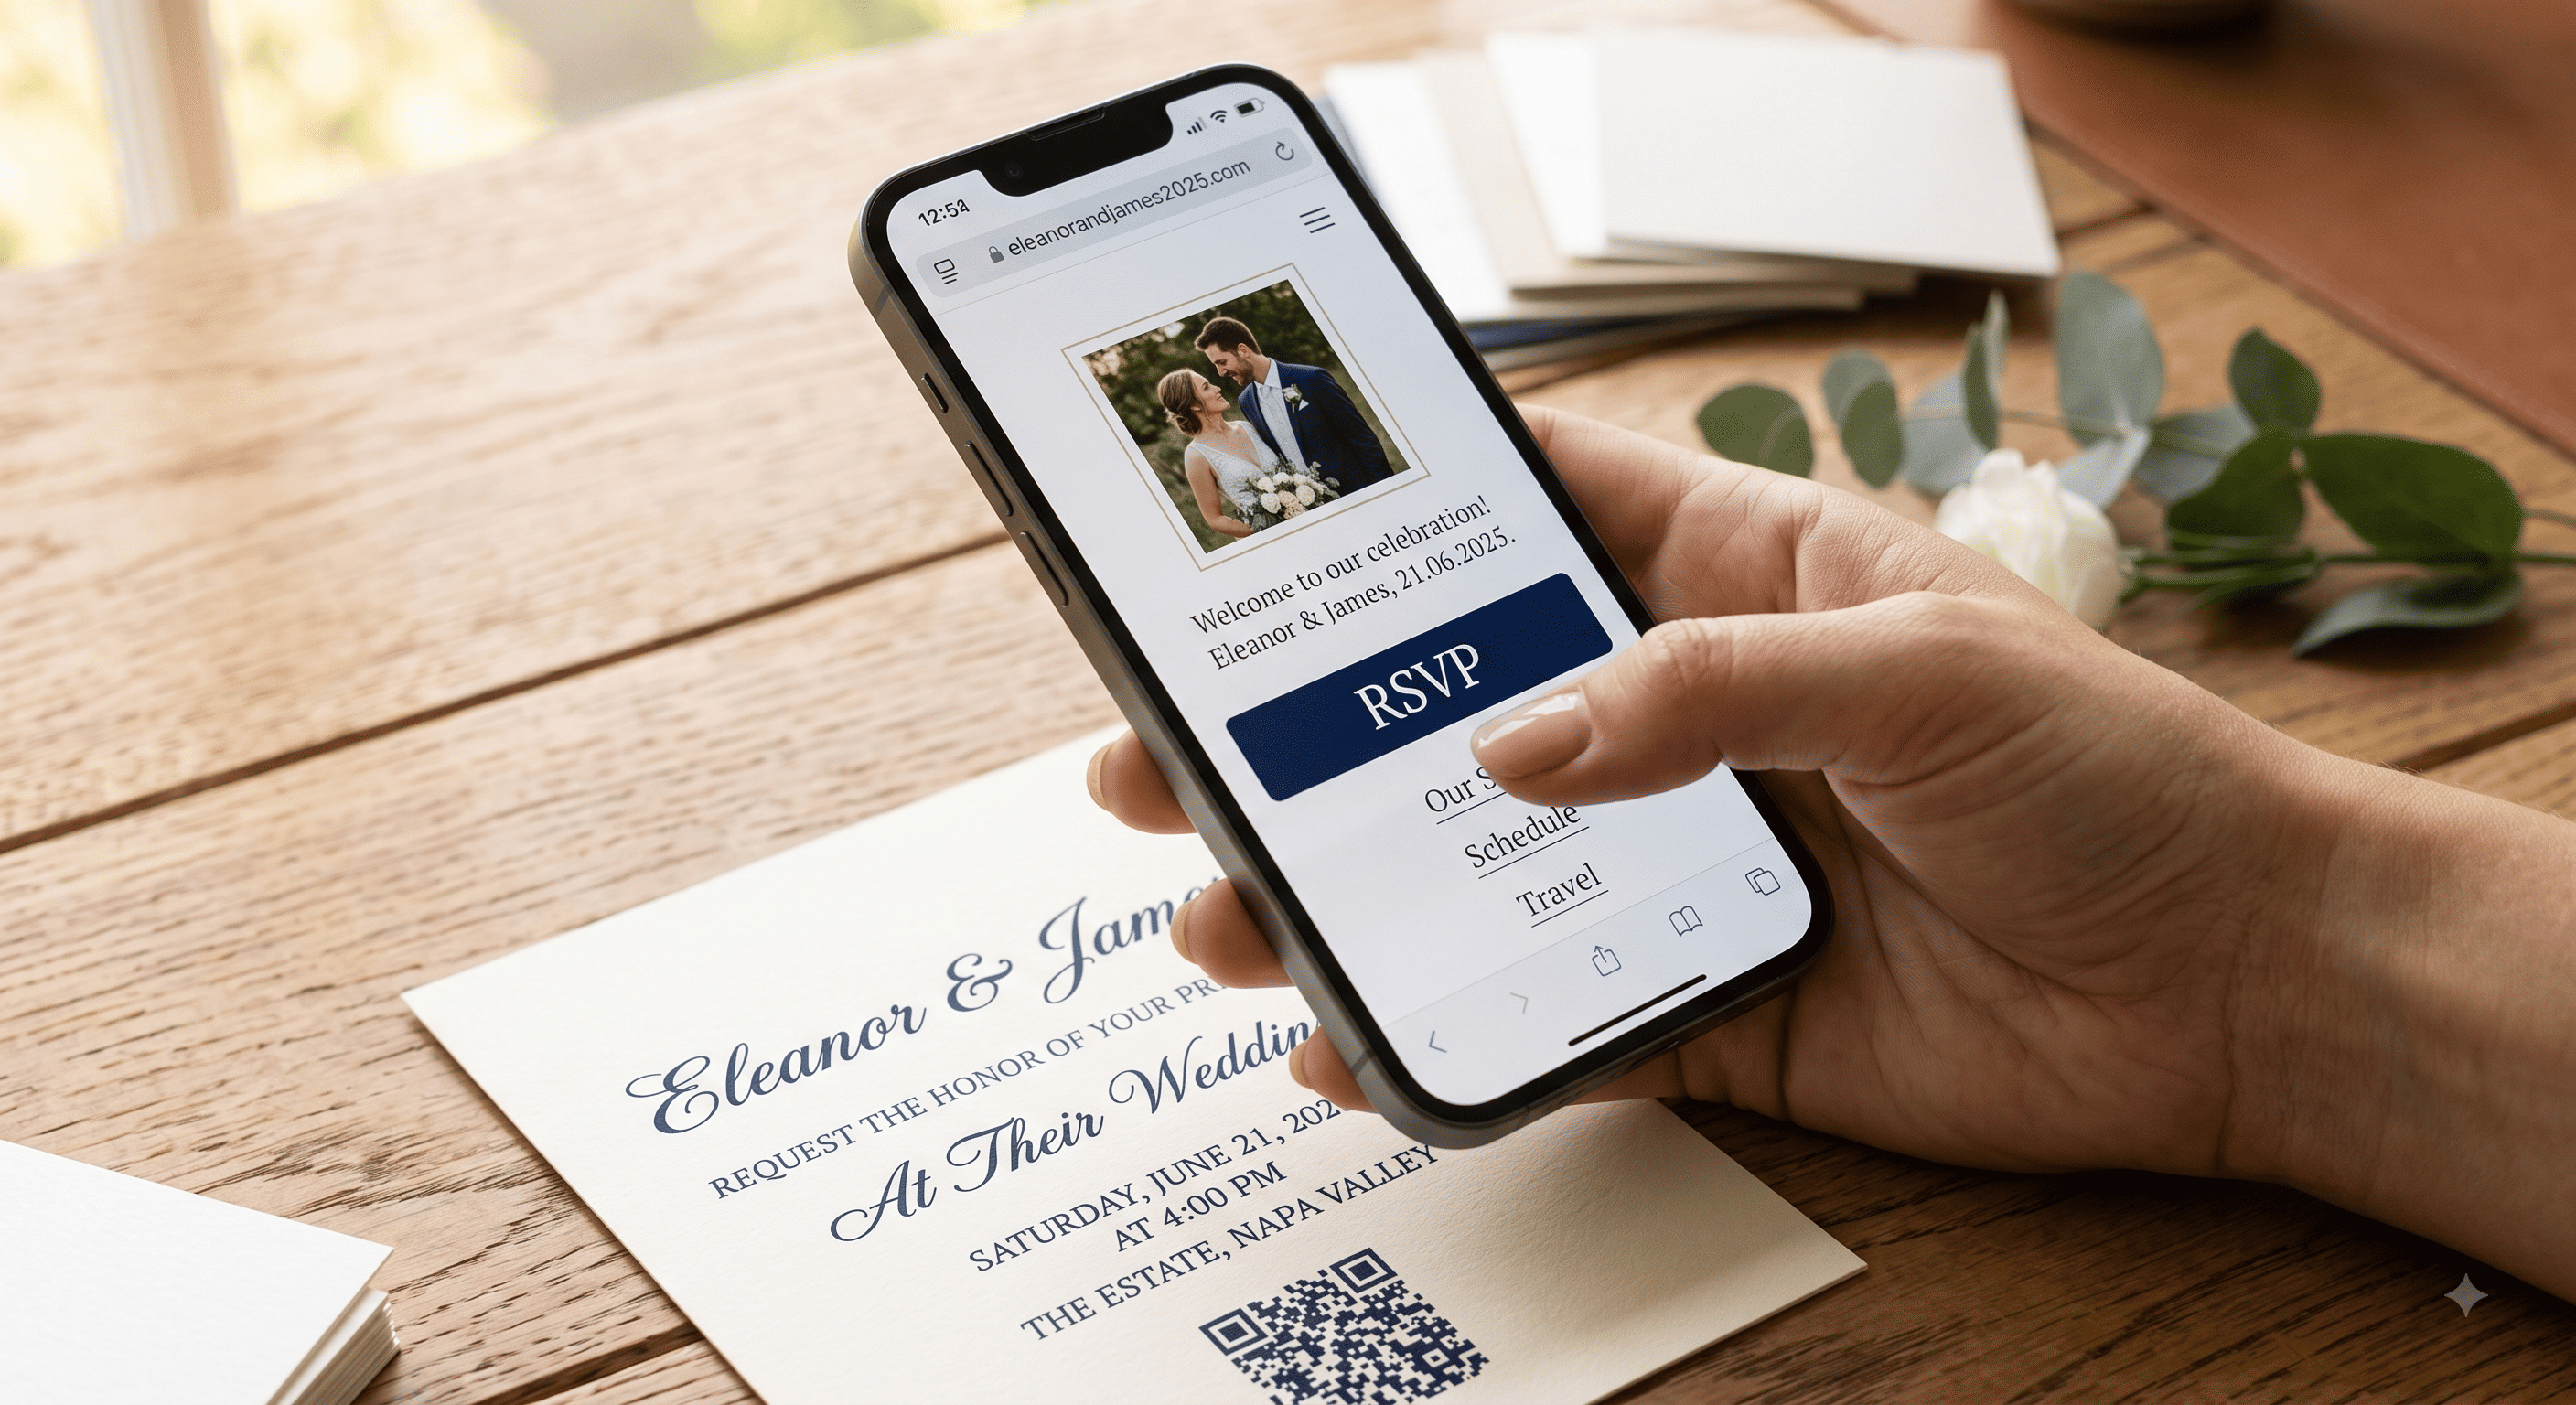
A QR code on a wedding invitation does one job: it gets a guest from a piece of paper to your wedding website in about two seconds, without anyone typing a URL wrong. That's it. Done well, it cuts your "where do I RSVP?" texts down to almost nothing. Done badly, it's a black square that half your guests photograph and then give up on.
This guide covers what to link it to, how to make one that actually scans, where to put it on the card, and the mistakes that quietly cost you RSVPs.
What a wedding QR code actually is
It's a printed shortcut to a web address. Your guest opens their phone camera, points it at the square, and a notification pops up with your link. Since iOS 11 and Android 8, camera apps scan QR codes natively — no separate app, no download. That's the reason these went from "gimmick" to standard on wedding stationery in the space of a few years.
The code itself is free to generate. What you're really deciding is what sits on the other end of it.
What to link a wedding QR code to
Pick one destination. One. A QR code that opens a menu of choices defeats the point.
| Destination | Best for | Watch out for |
|---|---|---|
| Wedding website homepage | Most couples — details, RSVP, travel, registry all in one place | Make sure the site is mobile-first; guests will land on a phone |
| RSVP page directly | Couples whose only ask is a response | Guests miss the rest of your info |
| Digital invitation | Paper save-the-date pointing at the full invite later | Needs a stable link that won't expire |
| Registry | Shower and engagement party invites | Never on the wedding invitation itself — etiquette-wise it reads as a gift request |
| Photo album / upload folder | Day-of signage, not invitations | Set upload permissions before the day, not after |
| Directions or venue map | Weekend-schedule cards, welcome bags | Redundant if your website already has a travel page |
For the wedding invitation itself, the wedding website wins nearly every time. It's the only destination that can change after the card is printed — and something always changes.
Static vs dynamic codes (the decision most couples skip)
This is the single most useful thing to understand before you generate anything.
A static QR code has the URL baked into the pattern itself. Nothing sits in between. It works forever, costs nothing, and can never be edited. Change your website address and every printed card is dead.
A dynamic QR code points to a short redirect link owned by whatever service you used, which then forwards to your real page. You can change the destination later. The catch is real: if that service shuts down, changes its pricing, or your free trial lapses, your code stops working. Plenty of "free QR generator" sites offer dynamic codes on a 14-day trial and then quietly park the link behind a paywall.
Practical advice: use a static code pointing at a URL you control and won't change. Buy the domain for your wedding site if you can — even a cheap one — so the address is yours. If you must use a dynamic code, pay for it with a service you'd trust for two years, and print the plain URL underneath as a fallback.
How to make one (short version)
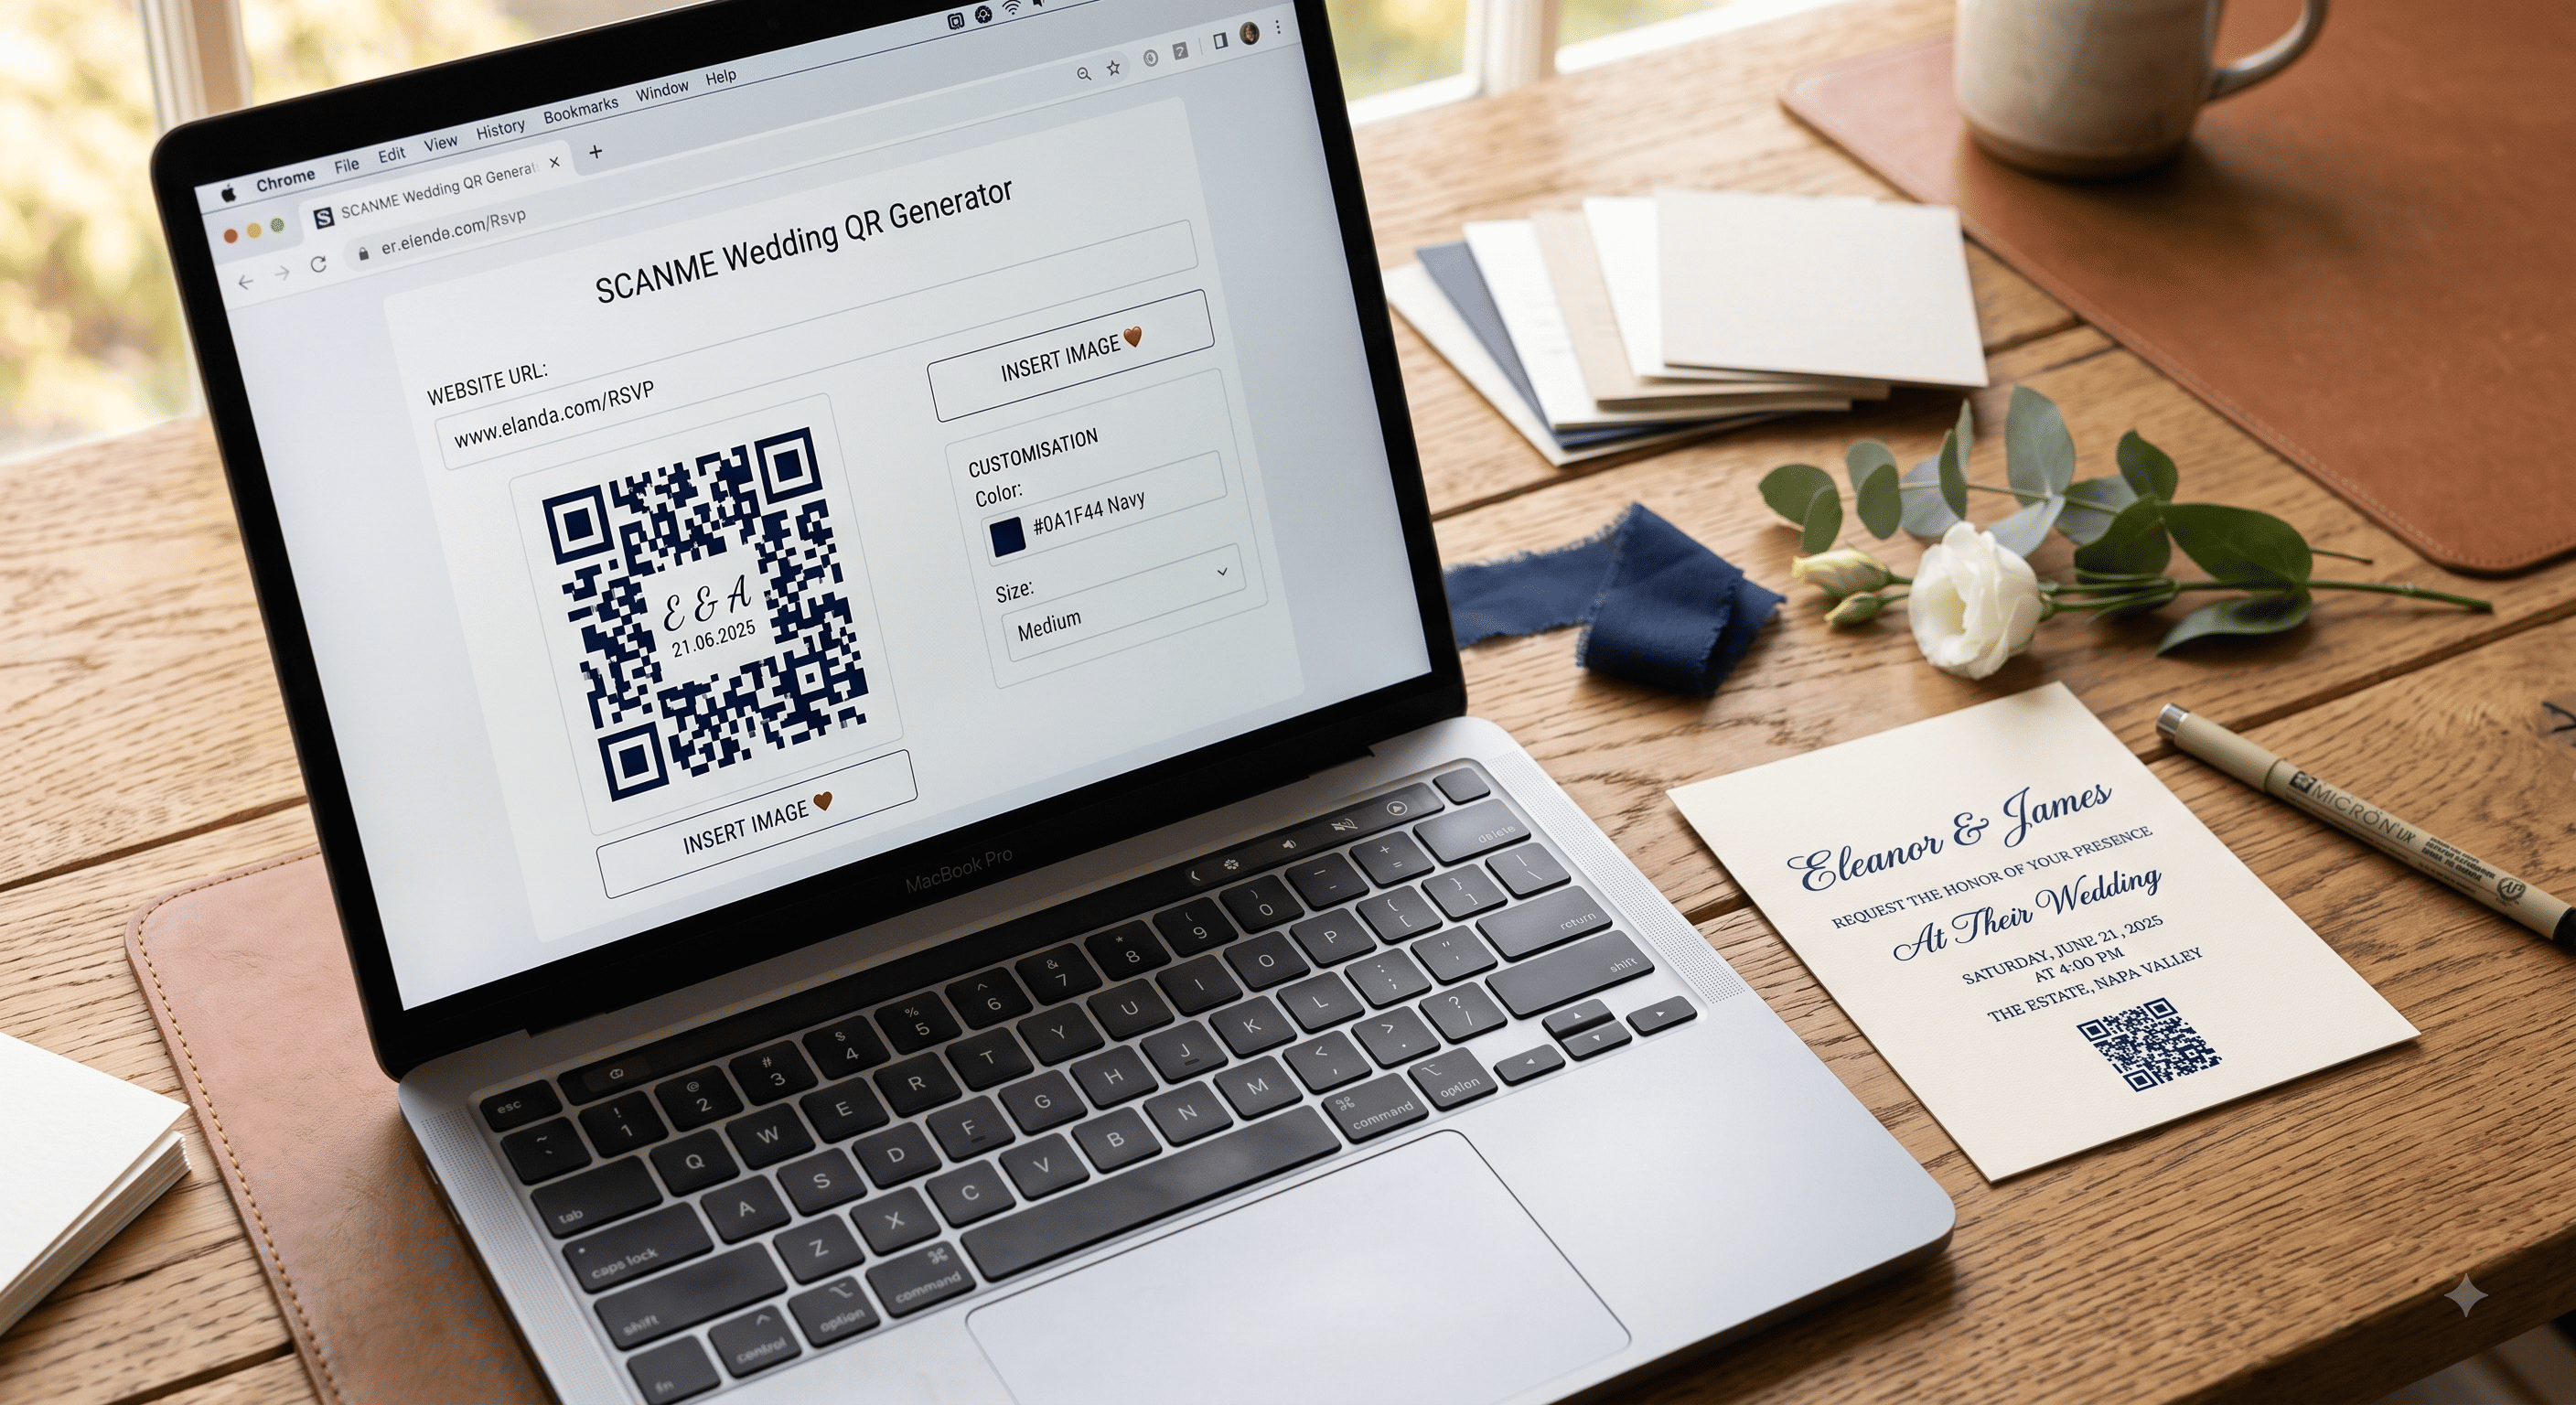
- Finalize your wedding website URL. Keep it short —
emmaandjoe.comscans better than a 60-character auto-generated address, because longer URLs create denser codes. - Generate a static code as an SVG or high-resolution PNG (vector if your printer accepts it).
- Set the foreground dark and the background light. Never invert it.
- Print a test at final size on the actual paper stock.
- Scan it with at least three different phones, including one that's several years old.
The full walkthrough with size and file-format specifics is in how to make a QR code for a wedding invitation.
Most digital invitation tools — Eventic among them — generate the code for you when you publish, so a separate generator often isn't needed at all.
Design: where it goes and how big
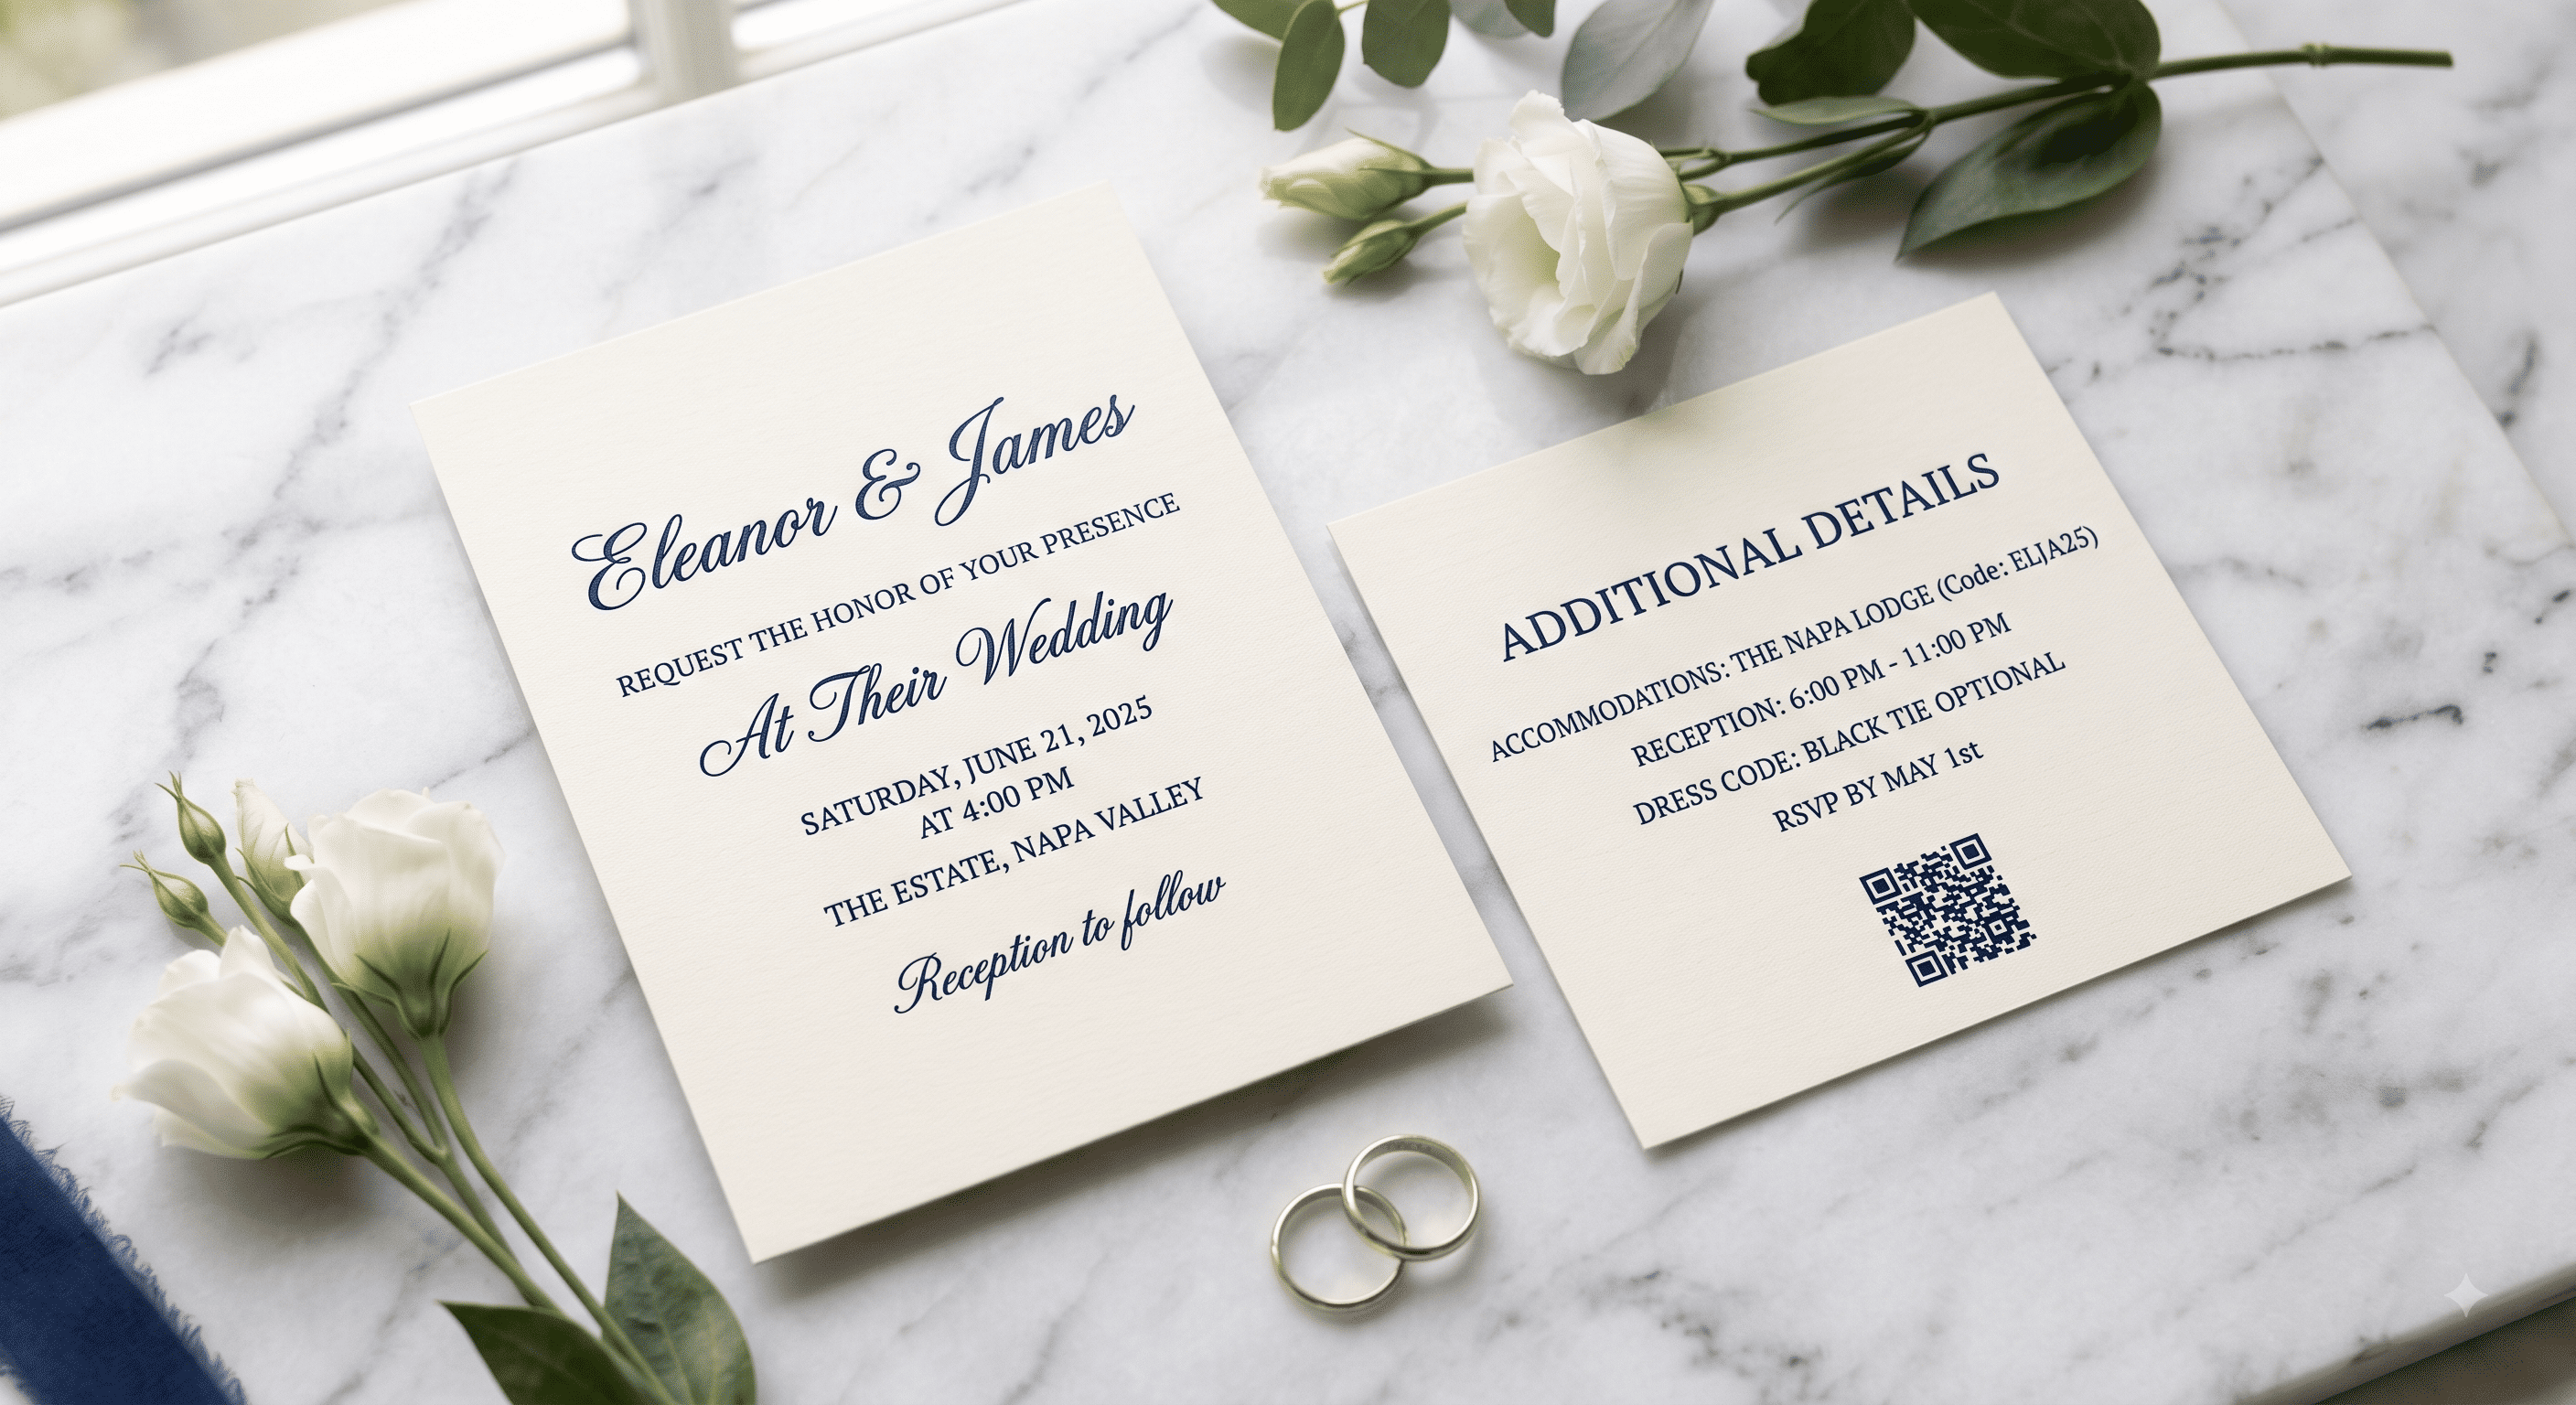
Put the code where a guest's thumb naturally lands and where it doesn't fight the typography. In practice that's the bottom-right of the main invitation, the back of the card, or on a separate details insert. The insert is the cleanest option — it keeps your invitation looking like an invitation.
Sizing and printing rules that matter:
- Minimum 0.8 inches (2 cm) square on printed stationery. Below that, scanning gets unreliable fast, especially on textured stock.
- Leave a quiet zone — a clear margin roughly the width of four of the code's little squares on all four sides. Designers crop this off constantly and it's the number-one cause of a code that "just won't scan."
- Avoid foil, metallic ink, and gloss varnish over the code. Glare kills scans under venue lighting and in bright rooms.
- Contrast beats color. A deep navy or forest green code on cream is fine. Blush on ivory is not.
- Add a short line of text beside it: "Scan for details and RSVP." Without a label, older guests won't know what it's for.
- Print the plain URL underneath in small type. This costs you nothing and rescues every guest with an old phone or a cracked camera.
The guest experience problem nobody warns you about
Your invitation list is not one audience. It's three.
Guests under 40 will scan without thinking. Guests 40–65 will mostly manage it, but some will need the label to know what to do. Guests over 65 — and this is the group that reliably gets missed — may not scan at all, and a meaningful number of them are the people whose attendance matters most to your parents.
The fix isn't to drop the QR code. It's to give that group a second route: the printed URL, a phone number for RSVPs, or a paper reply card for a small subset of the list. Sending a handful of traditional invitations alongside a mostly-digital list is normal now, and nobody notices.
Where QR codes work beyond the invitation
- Save the dates — points to a placeholder site with the date and city while details are still unsettled.
- Ceremony programs — links to an order of service, readings, or wedding party bios so you print fewer pages.
- Escort cards and table signage — the seating chart or the day's timeline.
- Photo sharing signage — an upload link so guest photos land in one folder instead of scattered across everyone's camera roll.
- Welcome bags — a weekend schedule with restaurant recommendations.
- Thank-you cards — a gallery link once your photos are back.
The day-of uses are genuinely underrated. A single sign by the entrance with "Scan for tonight's timeline" answers about a dozen questions before anyone has to ask you.
Do QR codes look tacky?
Less than they used to, and it depends entirely on execution. A raw black square dropped into the middle of a script-and-letterpress suite looks like an afterthought. The same code, sized modestly, printed in your ink color on a matching details card, reads as thoughtful. Wedding stationers now design them in as a standard element.
If you're unsure, put it on the insert rather than the invitation. That solves the aesthetic objection completely.
Before you print
Test on paper, not on screen. Screens are backlit and forgiving; matte card stock under a dim hallway light is not. Print one proof at final size, hand it to the least tech-comfortable person you know, and say nothing. If they figure it out in ten seconds, you're done.
Related guides: How to make a QR code for a wedding invitation · What to link your wedding QR code to · QR codes on save the dates · QR code wedding check-in and RSVP · QR code invitation mistakes
People Also Asked
Explore common questions related to this blog.