The square is the easy part. The decision that matters is where it sends people — and the most common mistake is trying to make one code do four jobs.
Here's how to choose the destination based on which piece of stationery the code is printed on.
The rule: one code, one destination, one job
A guest scans once. Whatever loads is the answer they get. If they land on a page that asks them to choose between "RSVP," "Travel," "Registry," and "Our Story," you've handed them a second decision at the exact moment they wanted an answer.
So decide what the primary action is for that card, and point the code at it.
| Stationery piece | Primary action | Link the code to |
|---|---|---|
| Save the date | Note the date, watch for details | Wedding website homepage (or a simple holding page) |
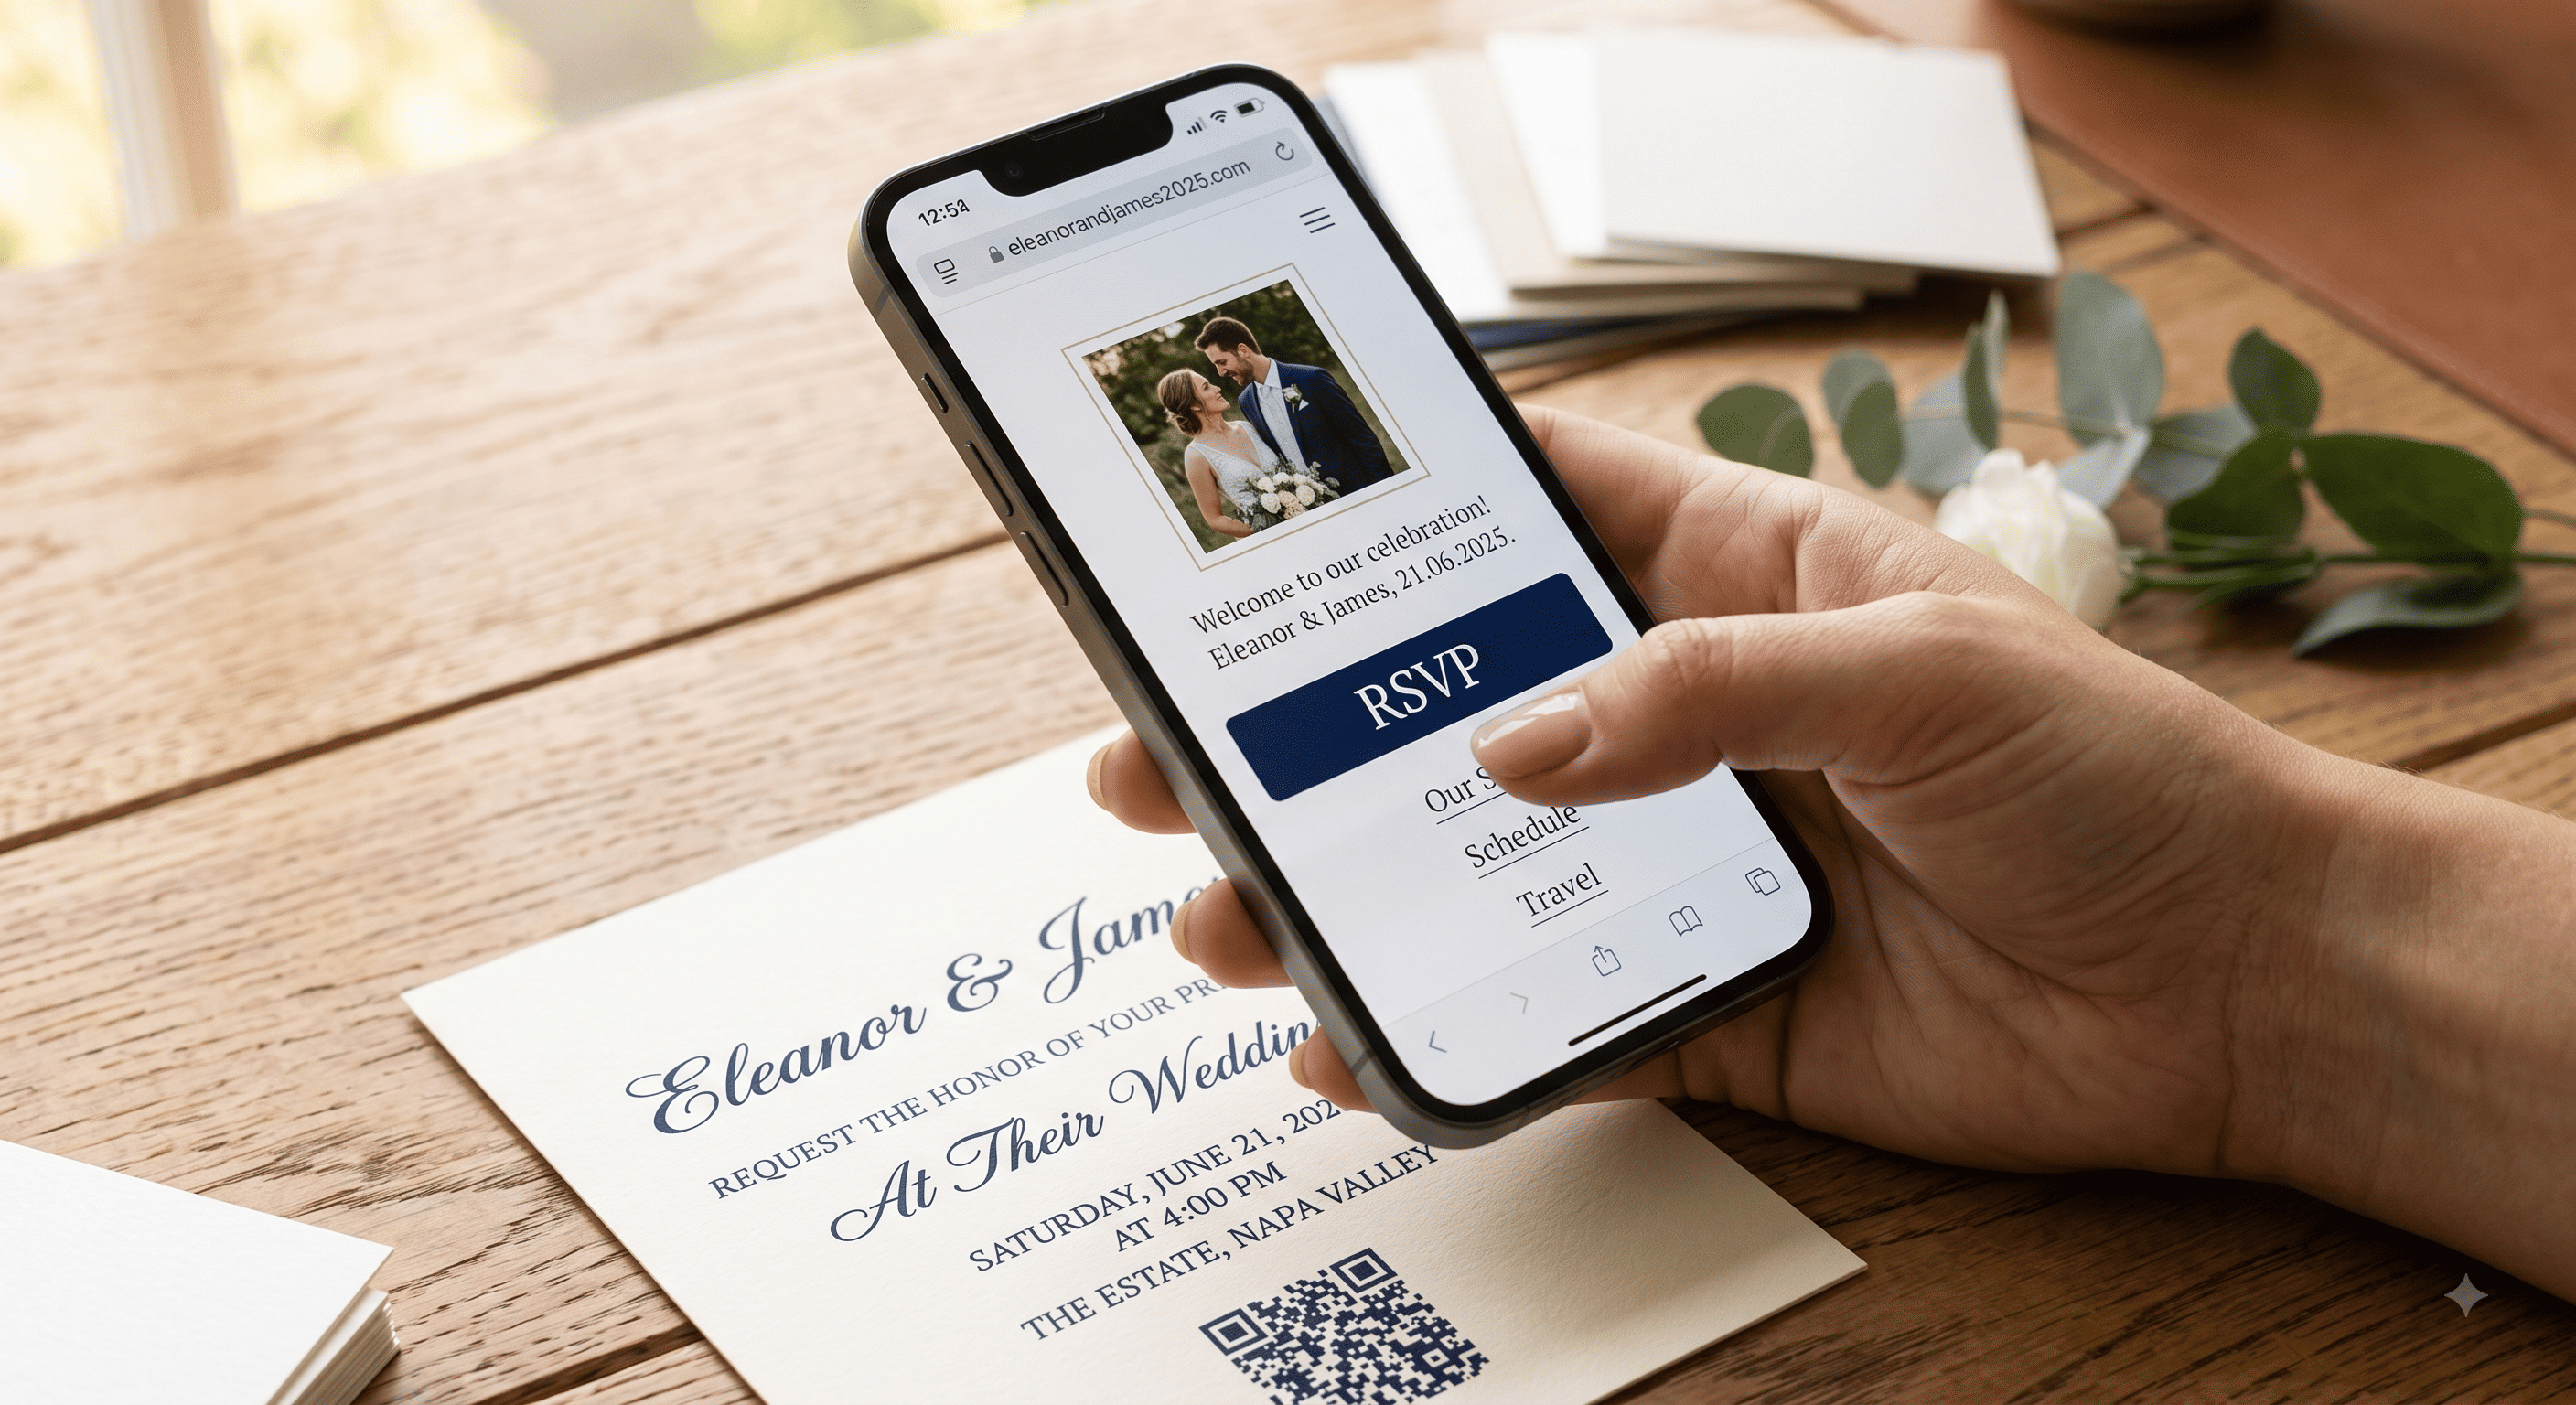
| Wedding invitation | RSVP | Wedding website homepage, or the RSVP page directly |
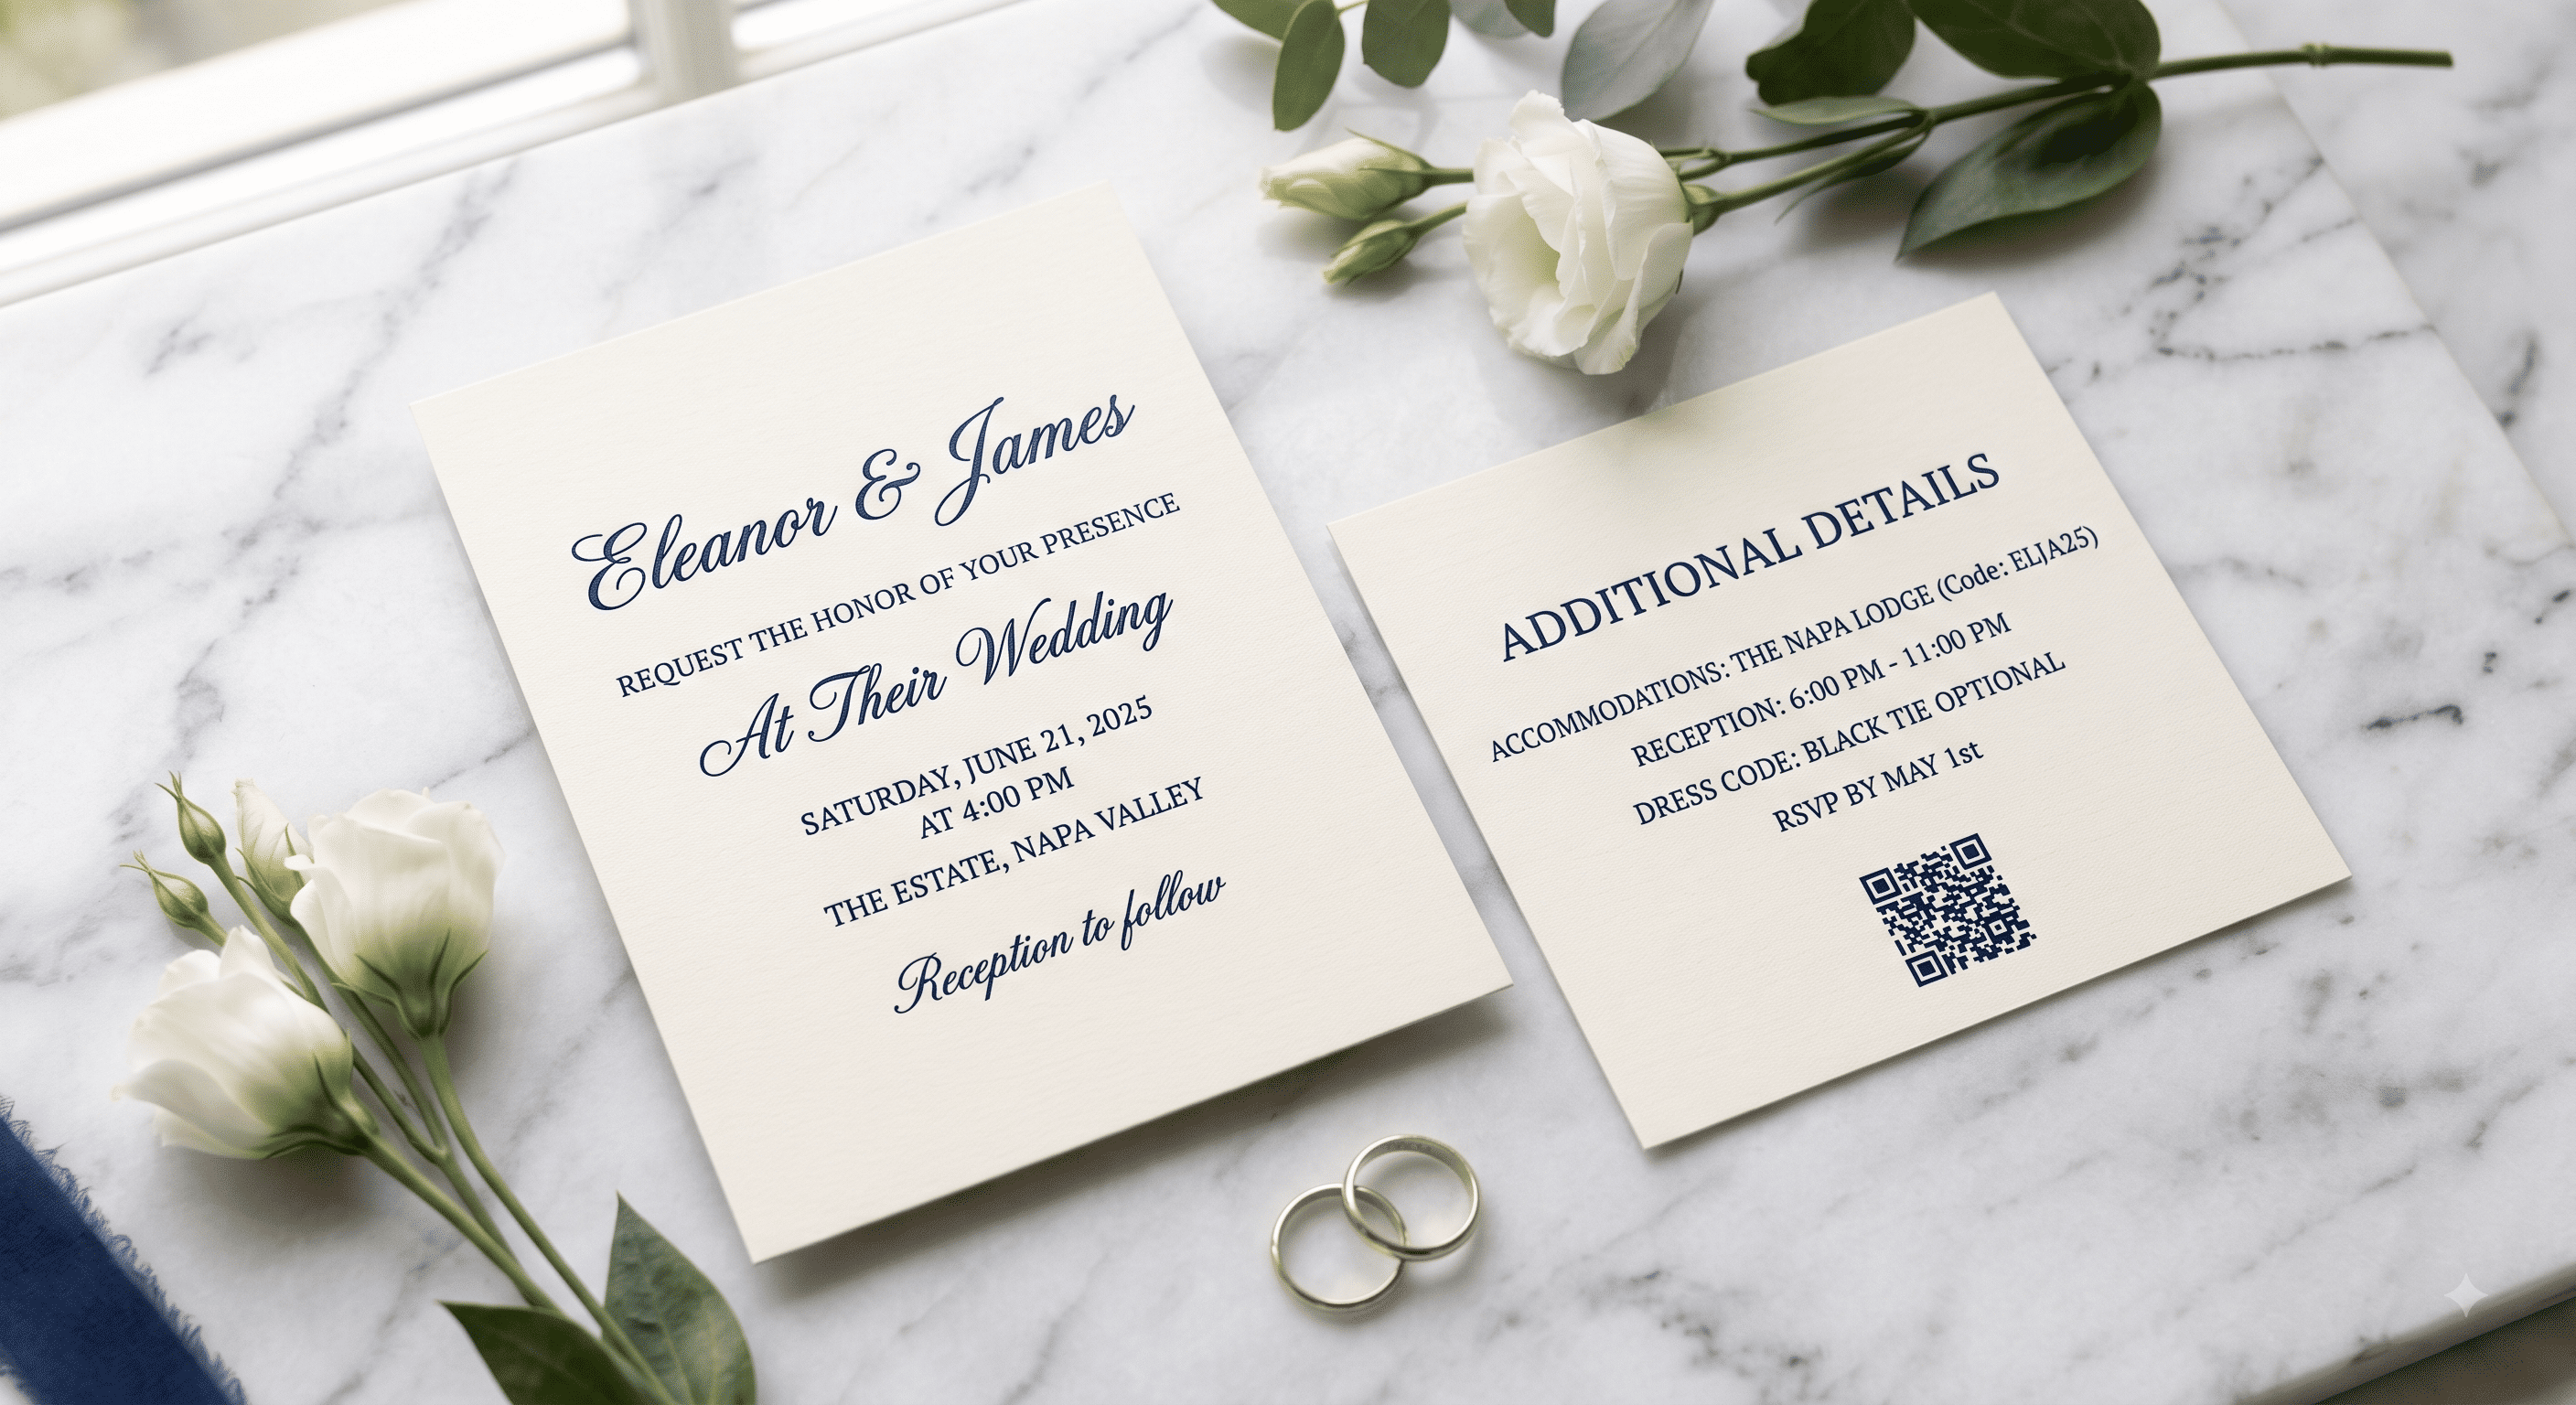
| Details / insert card | Find travel and logistics info | Wedding website travel page |
| Bridal shower invite | Buy a gift | Registry |
| Engagement party invite | RSVP | RSVP form or event page |
| Ceremony program | Follow along | Order of service page |
| Reception signage | Find your seat | Seating chart |
| Photo-sharing sign | Upload photos | Shared album upload link |
| Thank-you card | See the photos | Private gallery link |
Option 1: Your wedding website (the default, and usually right)
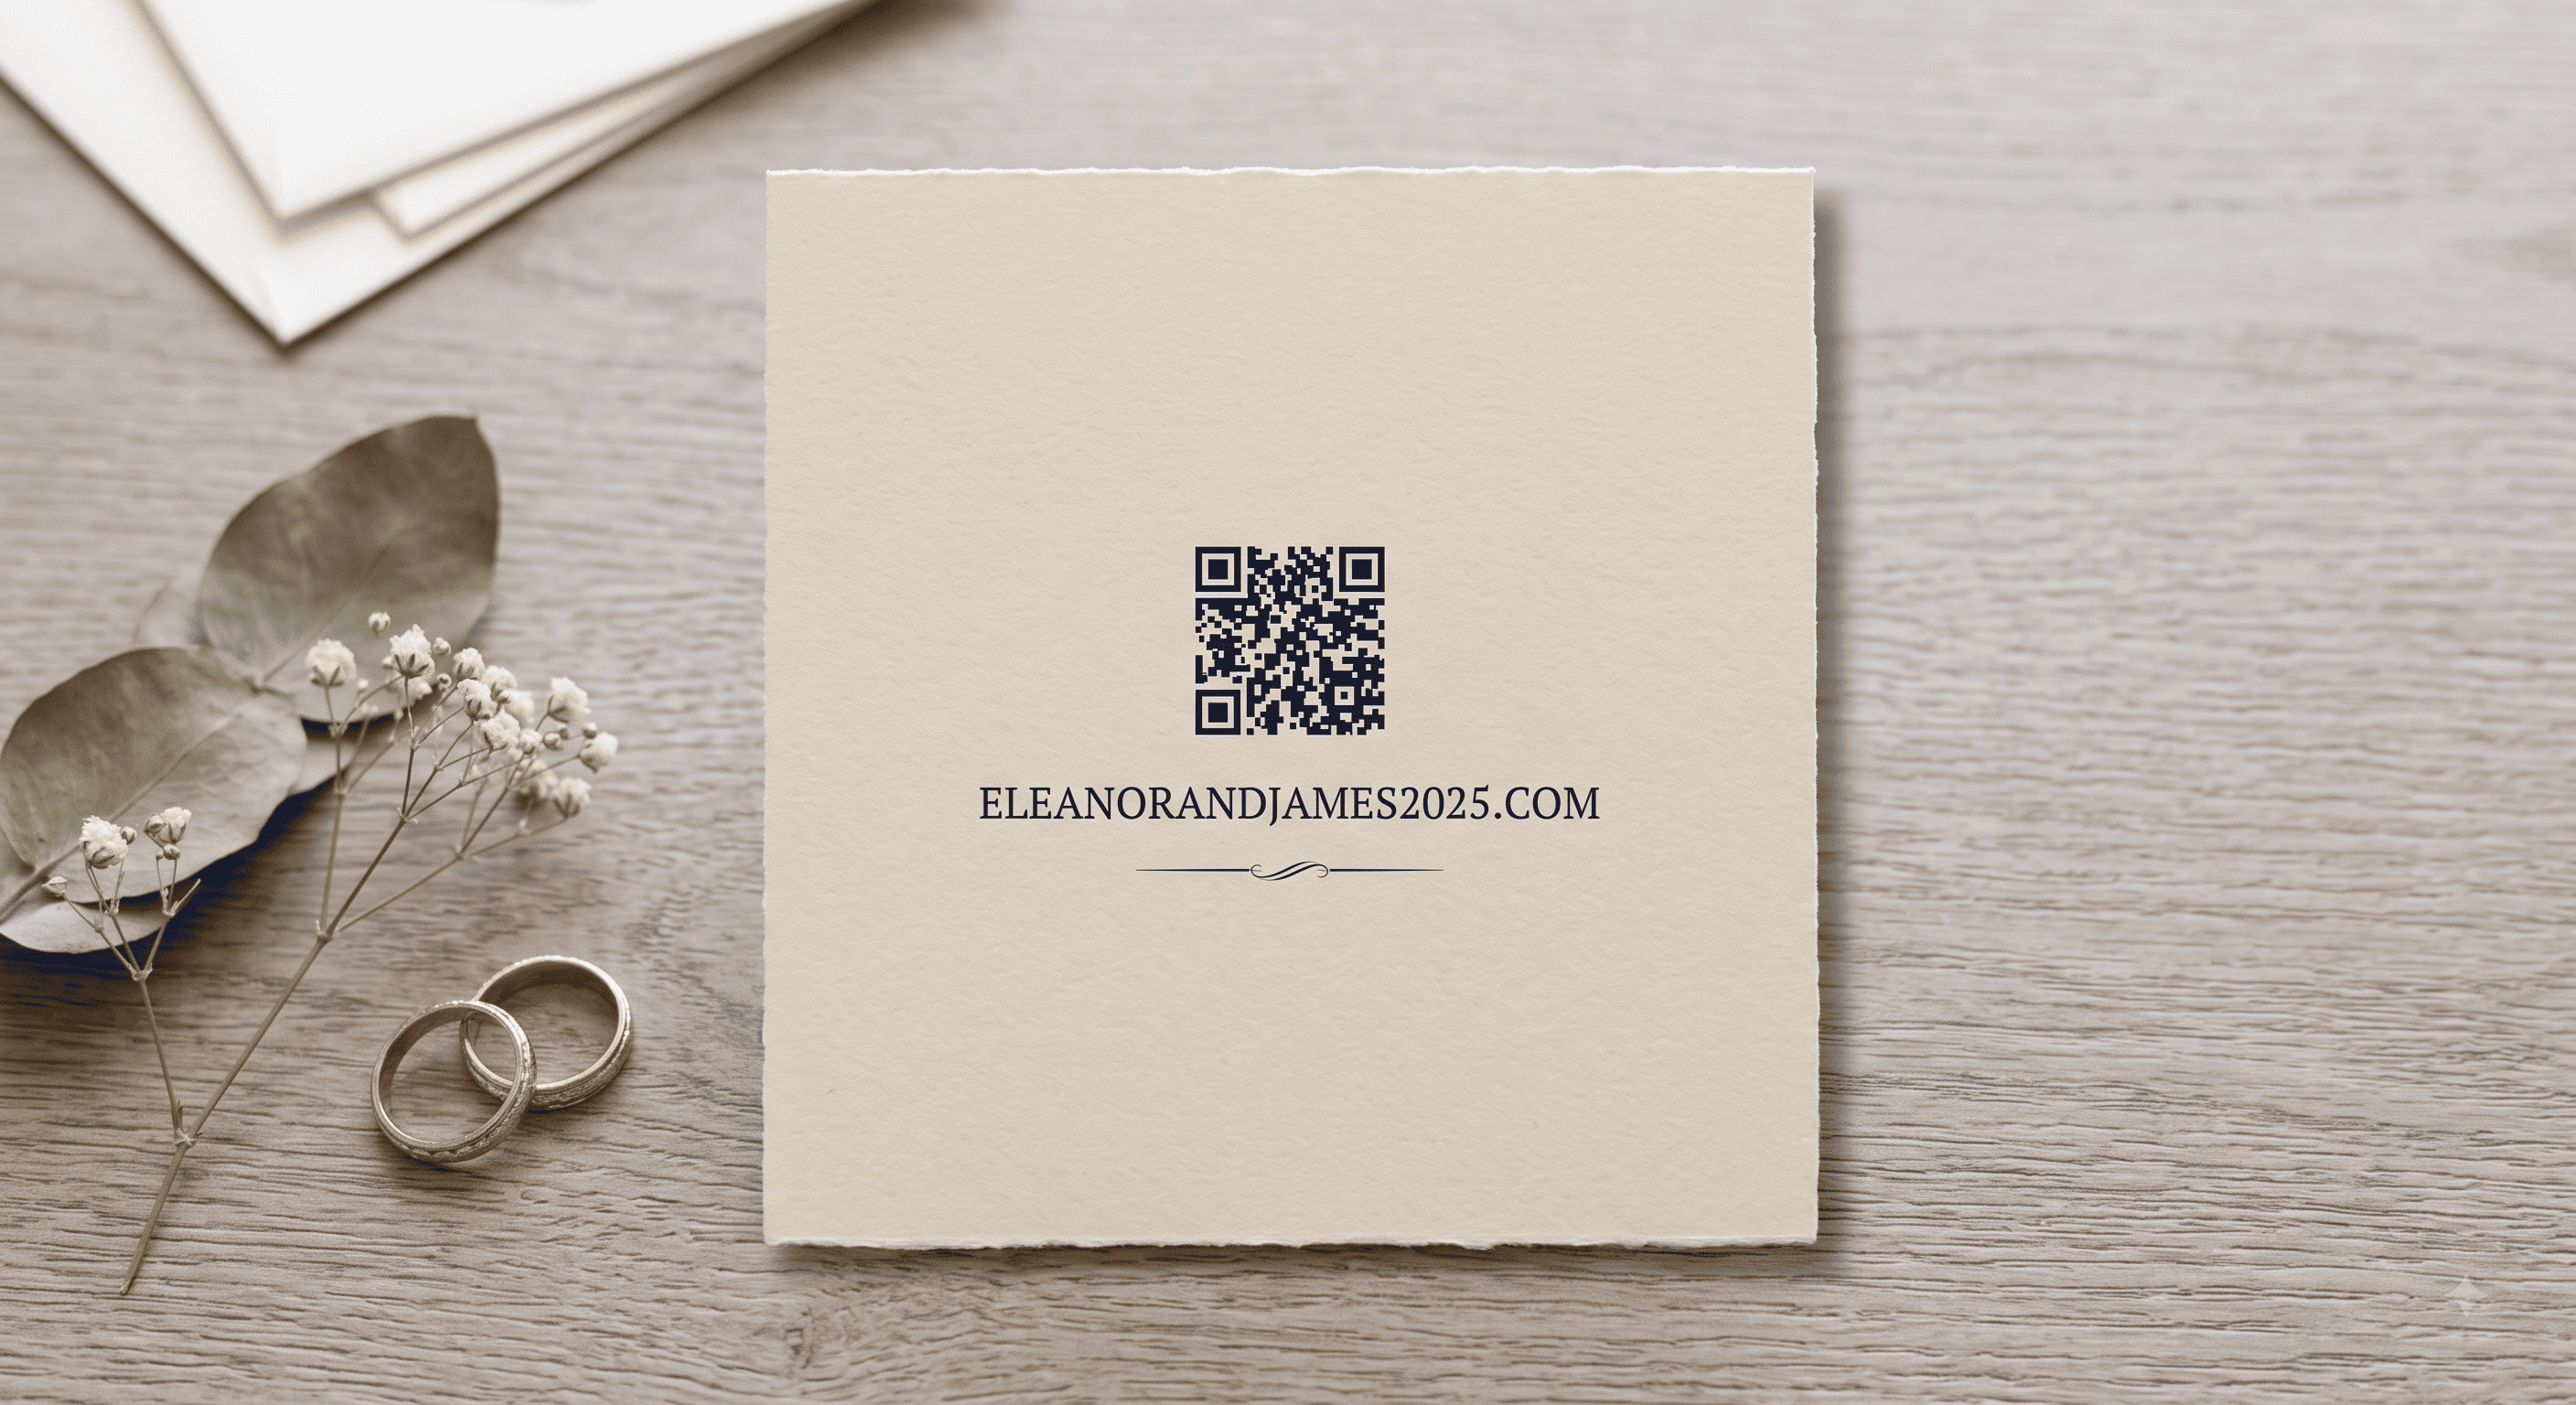
For the invitation itself, the homepage of your wedding website is the strongest destination. It's the only link that can change after printing without breaking anything — you update the page, the code still works.
It also handles the thing you can't predict: guests arrive with different questions. One wants the hotel block. One wants to know if there's parking. One wants to RSVP for two. A homepage with clear navigation serves all three; a single-purpose link serves one.
Make sure the homepage answers the top three questions above the fold on a phone: date, place, and where to RSVP. If a guest has to scroll past a photo carousel and your proposal story to find the RSVP button, the code has technically worked and practically failed.
Option 2: The RSVP page directly
Point straight at the RSVP form when:
- Your wedding is local and simple, so there's no travel information to give.
- You've already sent all the details another way.
- You're sending a reminder card to guests who haven't responded.
- Your response deadline is close and you want zero friction.
The trade-off is that guests skip everything else on your site. If you've spent time writing a travel page nobody sees, that's the cost.
A middle path: link to the homepage on the invitation, and to the RSVP page on a follow-up reminder card. Different card, different job.
Option 3: A digital invitation
If you're sending a paper save the date and a digital invitation later, the code on the save the date can point at the page where the full invitation will eventually live. Set that URL up before printing, even if the page just says "details coming soon."
This works well for couples splitting the difference between paper and digital — the tactile save the date gets kept on the fridge, and the invitation with all the changeable details stays online where you can fix a venue address at 11 PM.
Option 4: Registry (only on the right card)
Link a code to your registry on a bridal shower invitation or an engagement party invitation. Both of those events are explicitly gift-giving occasions and guests expect the information.
Do not put a registry code on the wedding invitation. Etiquette on this hasn't shifted much: the invitation invites people to a wedding, and pairing it with a gift link reads as a request. Registry information belongs on your wedding website, where guests go looking for it themselves. The distinction sounds fussy but it's the one your relatives will notice.
Option 5: Photo sharing (day-of, not invitation)
A code on table signage or a welcome sign pointing to a shared upload folder is one of the genuinely great uses. Guests take hundreds of photos you'll otherwise never see.
Two things to set up before the day:
- Test the upload permissions while logged out of your own account. A shared Google Photos or Dropbox link that requires sign-in will stop most guests cold.
- Say what it's for on the sign: "Scan to share your photos with us" beats a bare square every time.
Option 6: Directions, schedule, or venue map
Useful on welcome bags, weekend-schedule cards, and hotel drop-offs for destination weddings — anywhere a guest is physically trying to get somewhere. A code that opens Google Maps directly to the venue pin saves everyone the address-typing.
Skip it on the invitation. Your website's travel page already covers it, and a second code on the same card confuses people about which one to scan.
What not to link to
- A social media profile. Guests scanning a wedding invitation want logistics, not your Instagram.
- A vendor's website or a photographer's portfolio. Not what the card is for.
- A PDF. PDFs open badly on phones — pinch-zooming a letter-size document on a 6-inch screen is miserable. Use a web page.
- Anything behind a login. If your guest has to create an account to see your wedding details, they won't.
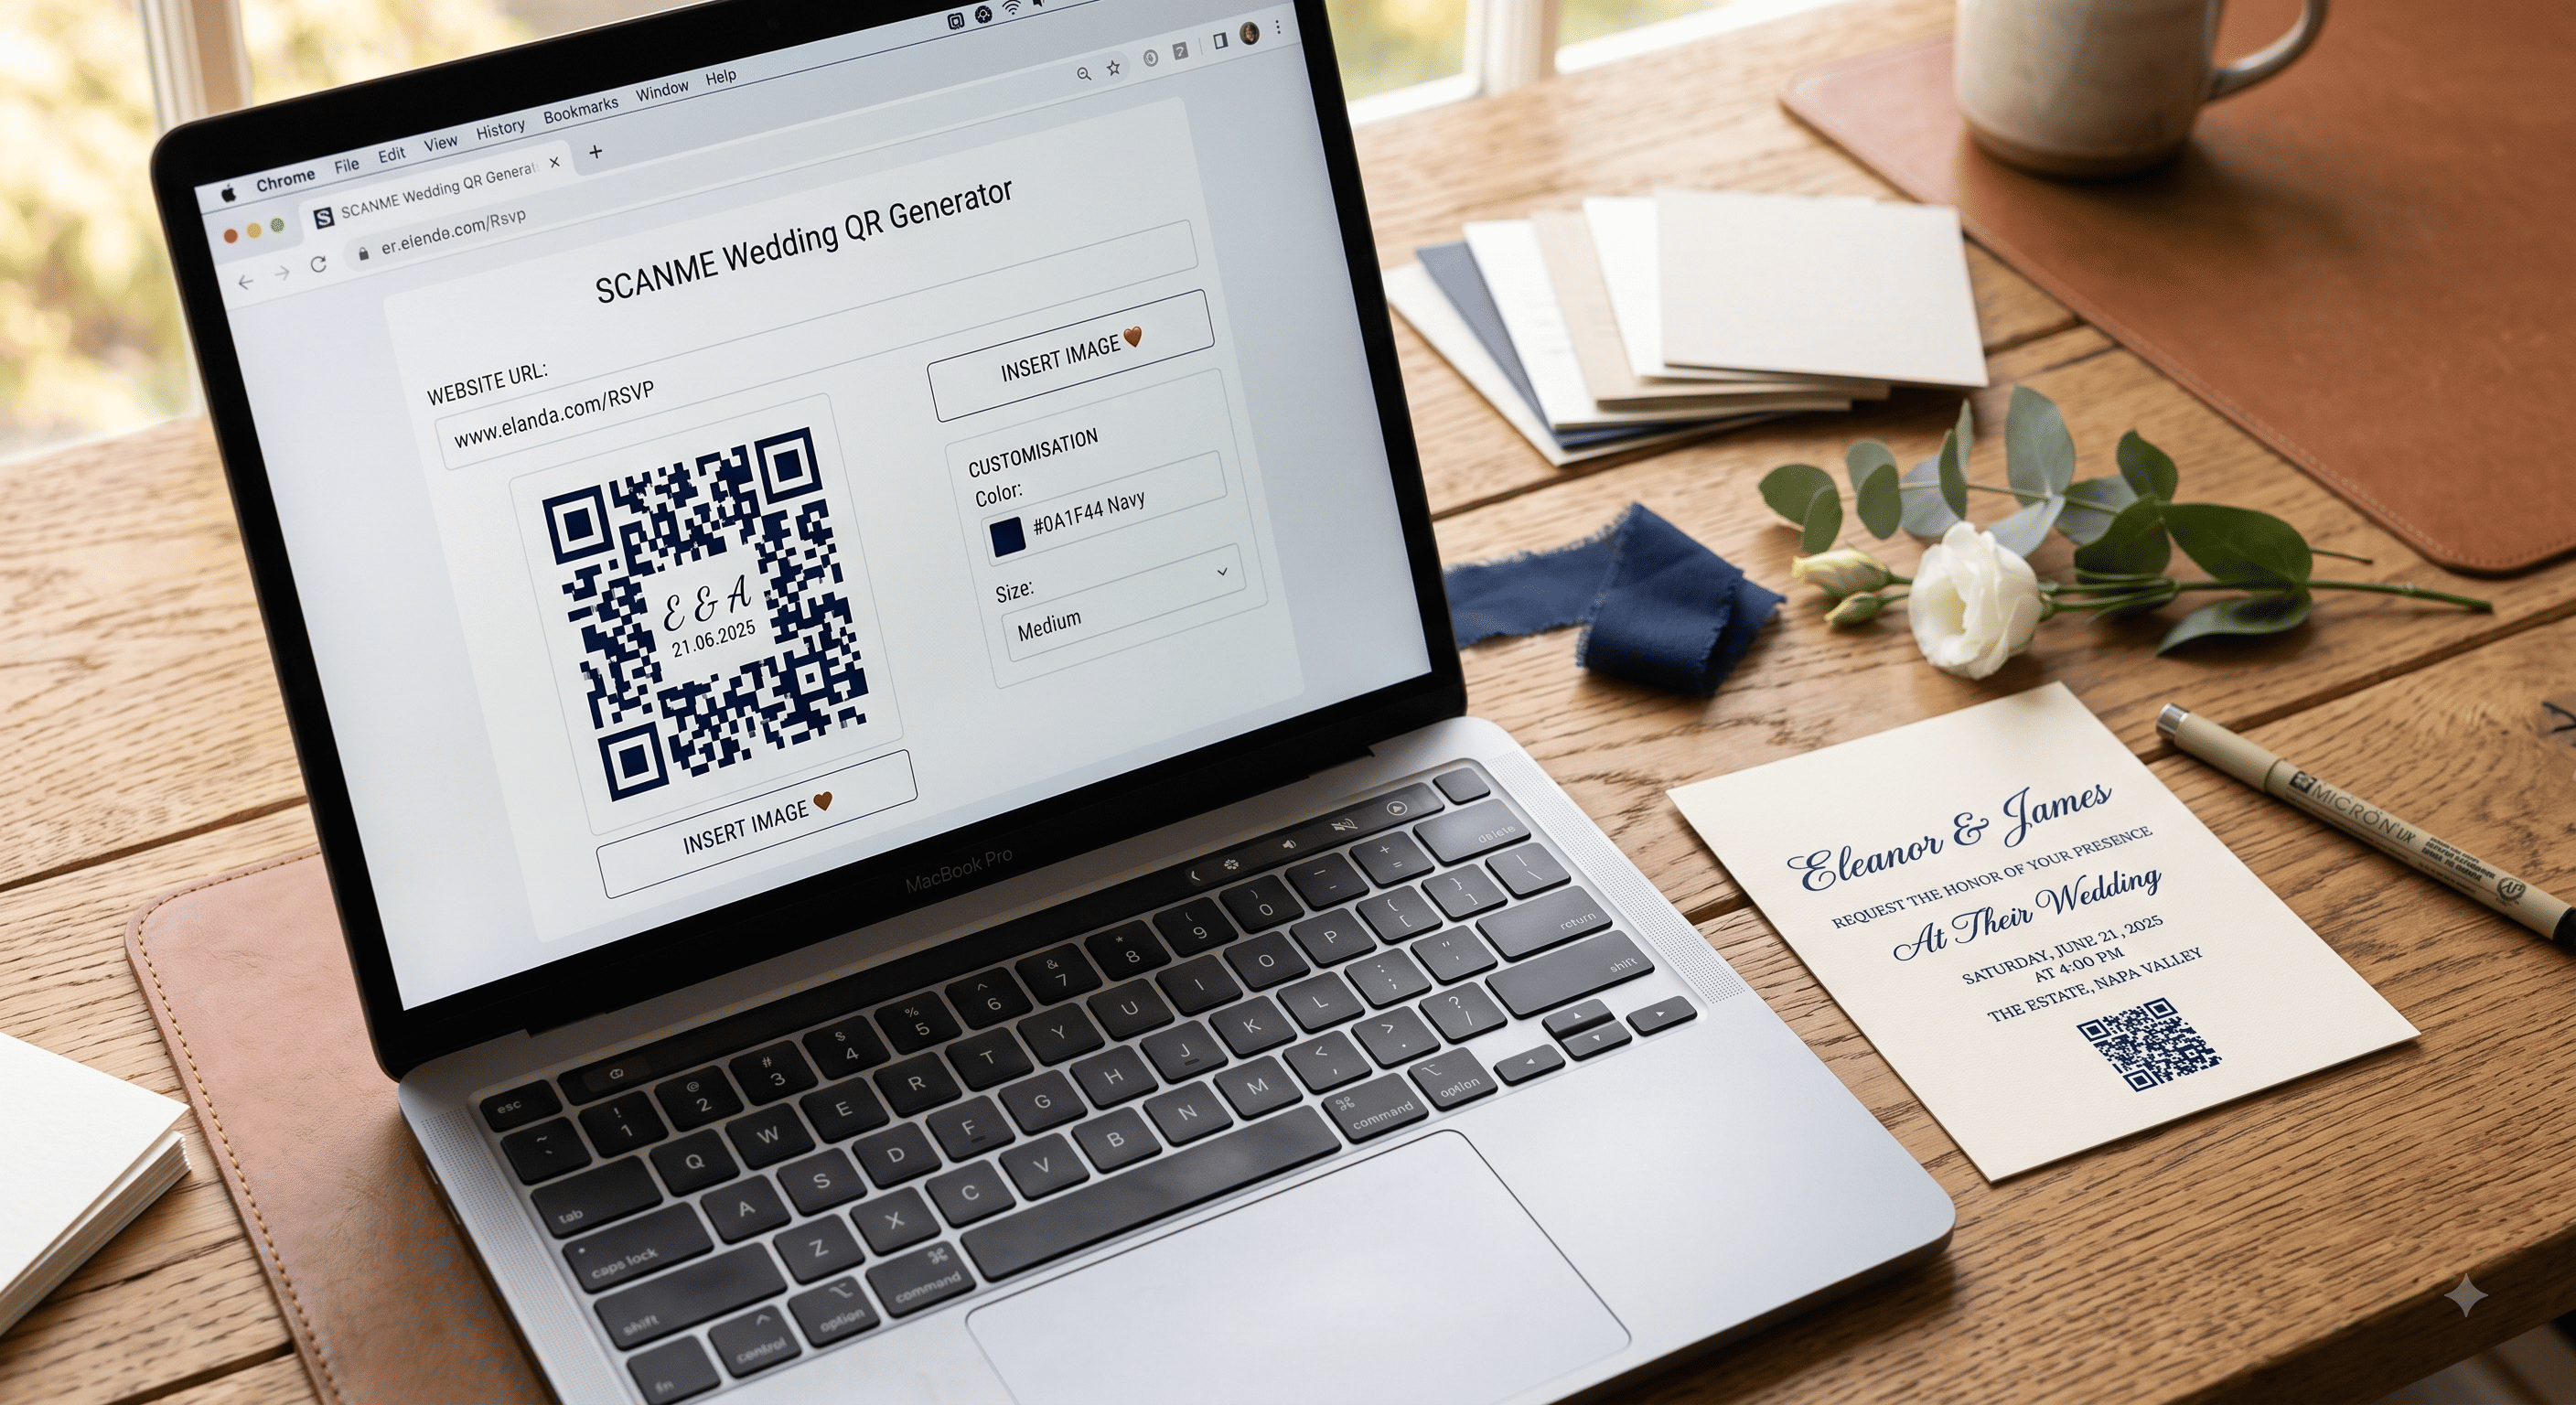
- A link you don't control. Free page builders and short-link services go away. Own the address.
The quick test
Before you print, scan the code on your own phone and ask: if I were a guest who knows nothing, does this page answer my question in five seconds? If it takes longer, fix the page — not the code.
Related: QR code wedding invitations: the complete guide · QR codes on save the dates · QR code wedding check-in and RSVP
People Also Asked
Explore common questions related to this blog.